A Cozy Little Cottage in the Woods

So what have we been up to in the months (years) since my last post? Well, as if life wasn’t chaotic enough between work, new business, kids, etc. we decided to tackle a pipedream goal of ours: restoring an old home.

When we started talking about restoring an old home we had a few criterion that we were both aligned on:

  1. The house needed to be old. We were willing to go as “new” as 1940’s but even that “young” was a bit of a stretch for me.
  2. We wanted land. Our preference was for at least 2 acres. I have dreams of someday owning chickens and a bee hive.
  3. Away from the hustle and bustle. Not that there’s anything wrong with big city life – heck Mike and I both grew up just outside of Los Angeles – we were just looking for something with a slightly slower, more relaxed vibe.
  4. Character, character, character. If we were going to pursue this madness, whatever house we were going to purchase had to be something that “spoke” to both of us. We needed a place that oozed historic charm.
  5. The house needed to be loved. We weren’t looking for a turn-key house, we had our eyes set on a restoration/renovation project – something that would keep us busy and give us a creative outlet.
  6. Budget fit. Because lets be honest, this is a must for any property purchase.

I would be lying if I said the search was easy. I found several houses online that appeared to meet all of our check boxes only to find out that something wasn’t quite right about each one. Additionally, as half of the United States can attest, the housing market in 2022 was absolutely bonkers and the few houses that Mike and I did like enough to truly consider either sold before we were able to put in an offer or ended up selling for far more than asking price.

Before we found “the one,” we had two houses that I completely had my heart set on. The first was a huge foursquare house that sat uninhabited for nearly 40 years, but had incredible hardwood floors throughout, original wavy glass windows, and a basement that looked like a New York City loft. We lost out on that one by a measly $5 thousand dollars and I think it will forever chap my hide. The second was a secluded stone cottage at the top of a private hill at the end of a winding private drive, surrounded by 9 acres of pristine woodland. This house went under contract the day we went to go see it.

I was beginning to lose hope on finding our project house. I stopped the search for a few months and begrudged the people who purchased these two houses. But one day on a whim I decided to type in our search criteria and to my excitement there was a small stone cottage that seemed to fit most of our wants. The catch – there were only 2 photos of the inside of the house and it was being sold via an online auction.

I showed it to Mike and we immediately made an appointment to see it that very day – having learned our lesson on waiting too long when something came up. We drove out to see the house, a mere hour away from our home. From the outside we could tell that there was definitely something special about this home, but the true test would be how it felt on the inside. Waiting for our agent to open the lockbox felt like torture to me as I was about to burst with excitement. She opened the door and we were immediately hit with the most disgusting smell of stale old house and dog urine. Mike gave me a panicked look.

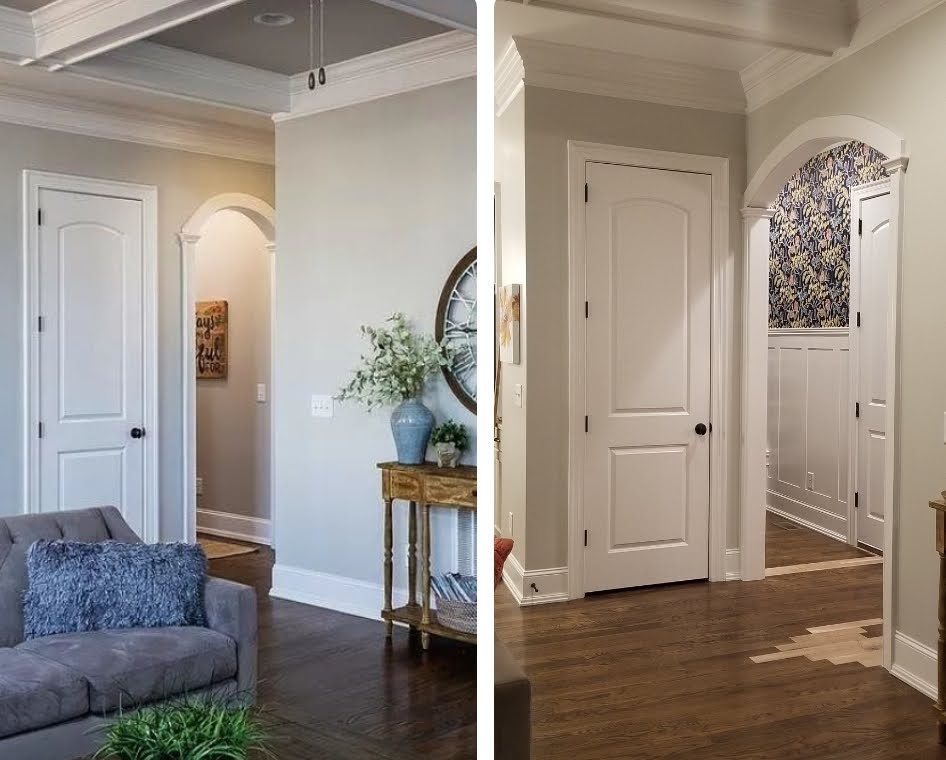
We went inside. We made our way through the two front living rooms – one with peach carpet and the other with lime green carpet – then to the disproportionately large hallway, and through 2 very small bedrooms. Our tour of the house concluded with the kitchen that had not been updated since the 1950’s and a bathroom that was literally hanging off the rear of the house on what had once been an enclosed porch. As we went deeper into the house, I became more and more sure that this was the one, Mike on the other hand, not so much…

Mike was shaking his head no and looking at me like I had lost my mind for even considering the house. “I think this is a bit much” he said. My heart broke. Where he saw nothing but problems left and right, I saw an opportunity to restore this neglected house into a home. Our agent waited outside for most of the tour – the smell was that bad…

We drove home and talked it over. The more we went through the list of things that needed to be done to the house, the more I could tell Mike was warming up to the idea of it. We made a list of everything that needed to be done, I started sketching out interior floor plan arrangements, and we started making a budget of what we thought everything would cost. Since we only had a few days to decide whether or not to put an offer in, we debated the house constantly. Finally, Mike said “Let’s put in an offer – if we get it, we get it, and if we don’t at least we tried.”

The day of the auction closeout was extremely intense. A few last minute offers came in and to my surprise, Mike kept telling me to offer a little higher! In the end, we were the winning bidder and we had officially purchased a new, albeit a very stinky home – all online. We had the keys to our new property less than a month later!

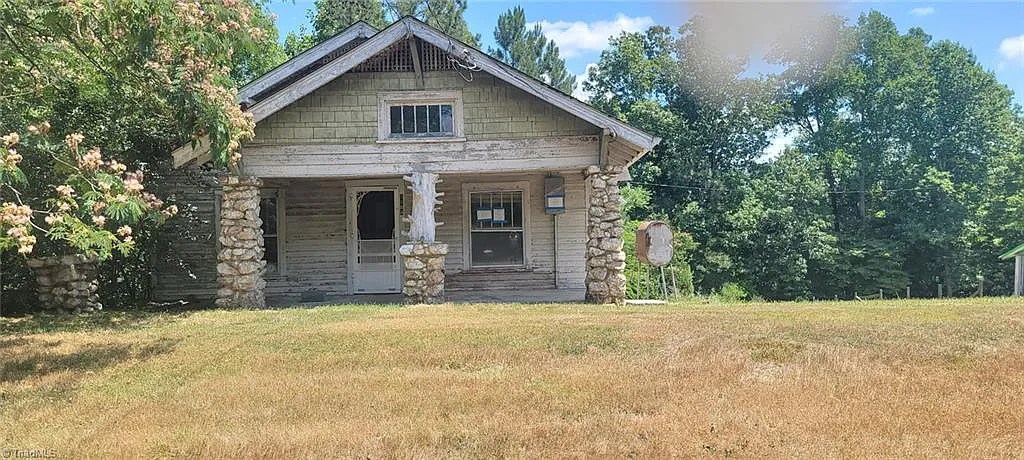
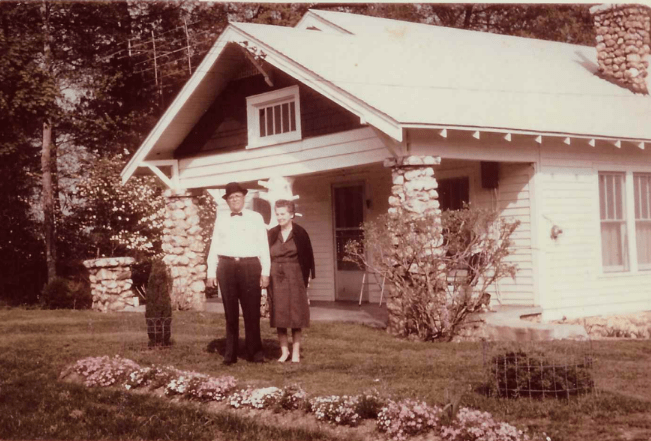
We’ve affectionately dubbed our new house the “Craftsman Cottage.” The house was built in 1923 and has the date 7/4/23 embossed on the side of the front porch. The property is just over 2/3 of an acre which is not as much land as we would have liked – however there is an empty 3 acres of undisturbed land adjacent to us, and protected land across the street owned by the local water company.

The entire foundation and the front pillars of our cottage are built of quartz boulders that were locally sourced. Fun fact – there are no quartz quarries in North Carolina so all of the stone for our house was locally sourced. We learned this when we visited a local stone mart looking for more of the quartz (or at least a close duplicate) for some future projects we are looking to do.

Amazingly one of the best features of our new house was the 93 year old neighbor who came with it – Dempsey. We met Dempsey on our very first visit to the cottage with our real estate agent and briefly chatted with him about the home – turns out his parents had actually owned the house and he grew up in it. Originally the home had no running water or even a well – there was a long water hose that pumped water up from the property behind the house. The house was plumbed with one bathroom and a kitchen sink in 1957!

Dempsey – a potential future blog post himself – moved back to his hometown in the late 1970’s to help take care of his aging parents and built a home right next door to his family. His parents lived in the house until their passing and they left it to his younger brother. His younger brother eventually sold the house to a woman who eventually leased it to her niece/nephew and at some point the house fell into severe disrepair and eventually foreclosure. Dempsey was thrilled to have new neighbors up to the task of getting the house back to its original glory.

Dempsey’s parents in front of the house.

So, over the past year or so, we have been doing just that – trying to get the house back from the brink of destruction. It’s been a lot of hard work and some days have been incredibly frustrating. We’ve encountered wasps, spiders, lizards, birds and swarms of lady bugs – all inside the house. We’ve found more termite damage than either of us had ever seen and Mike actually fell through the floor at one point due to the extent of the damage. We’ve taken countless trips to the dump with building debris and trash that was callously thrown about the property. We’ve shivered in the cold and cursed the summer heat and we’ve both used the bathroom in the woods more times than I’d care to remember – all in the pursuit of bringing this little cozy cottage back to life.

A year in and we have done all of the following:

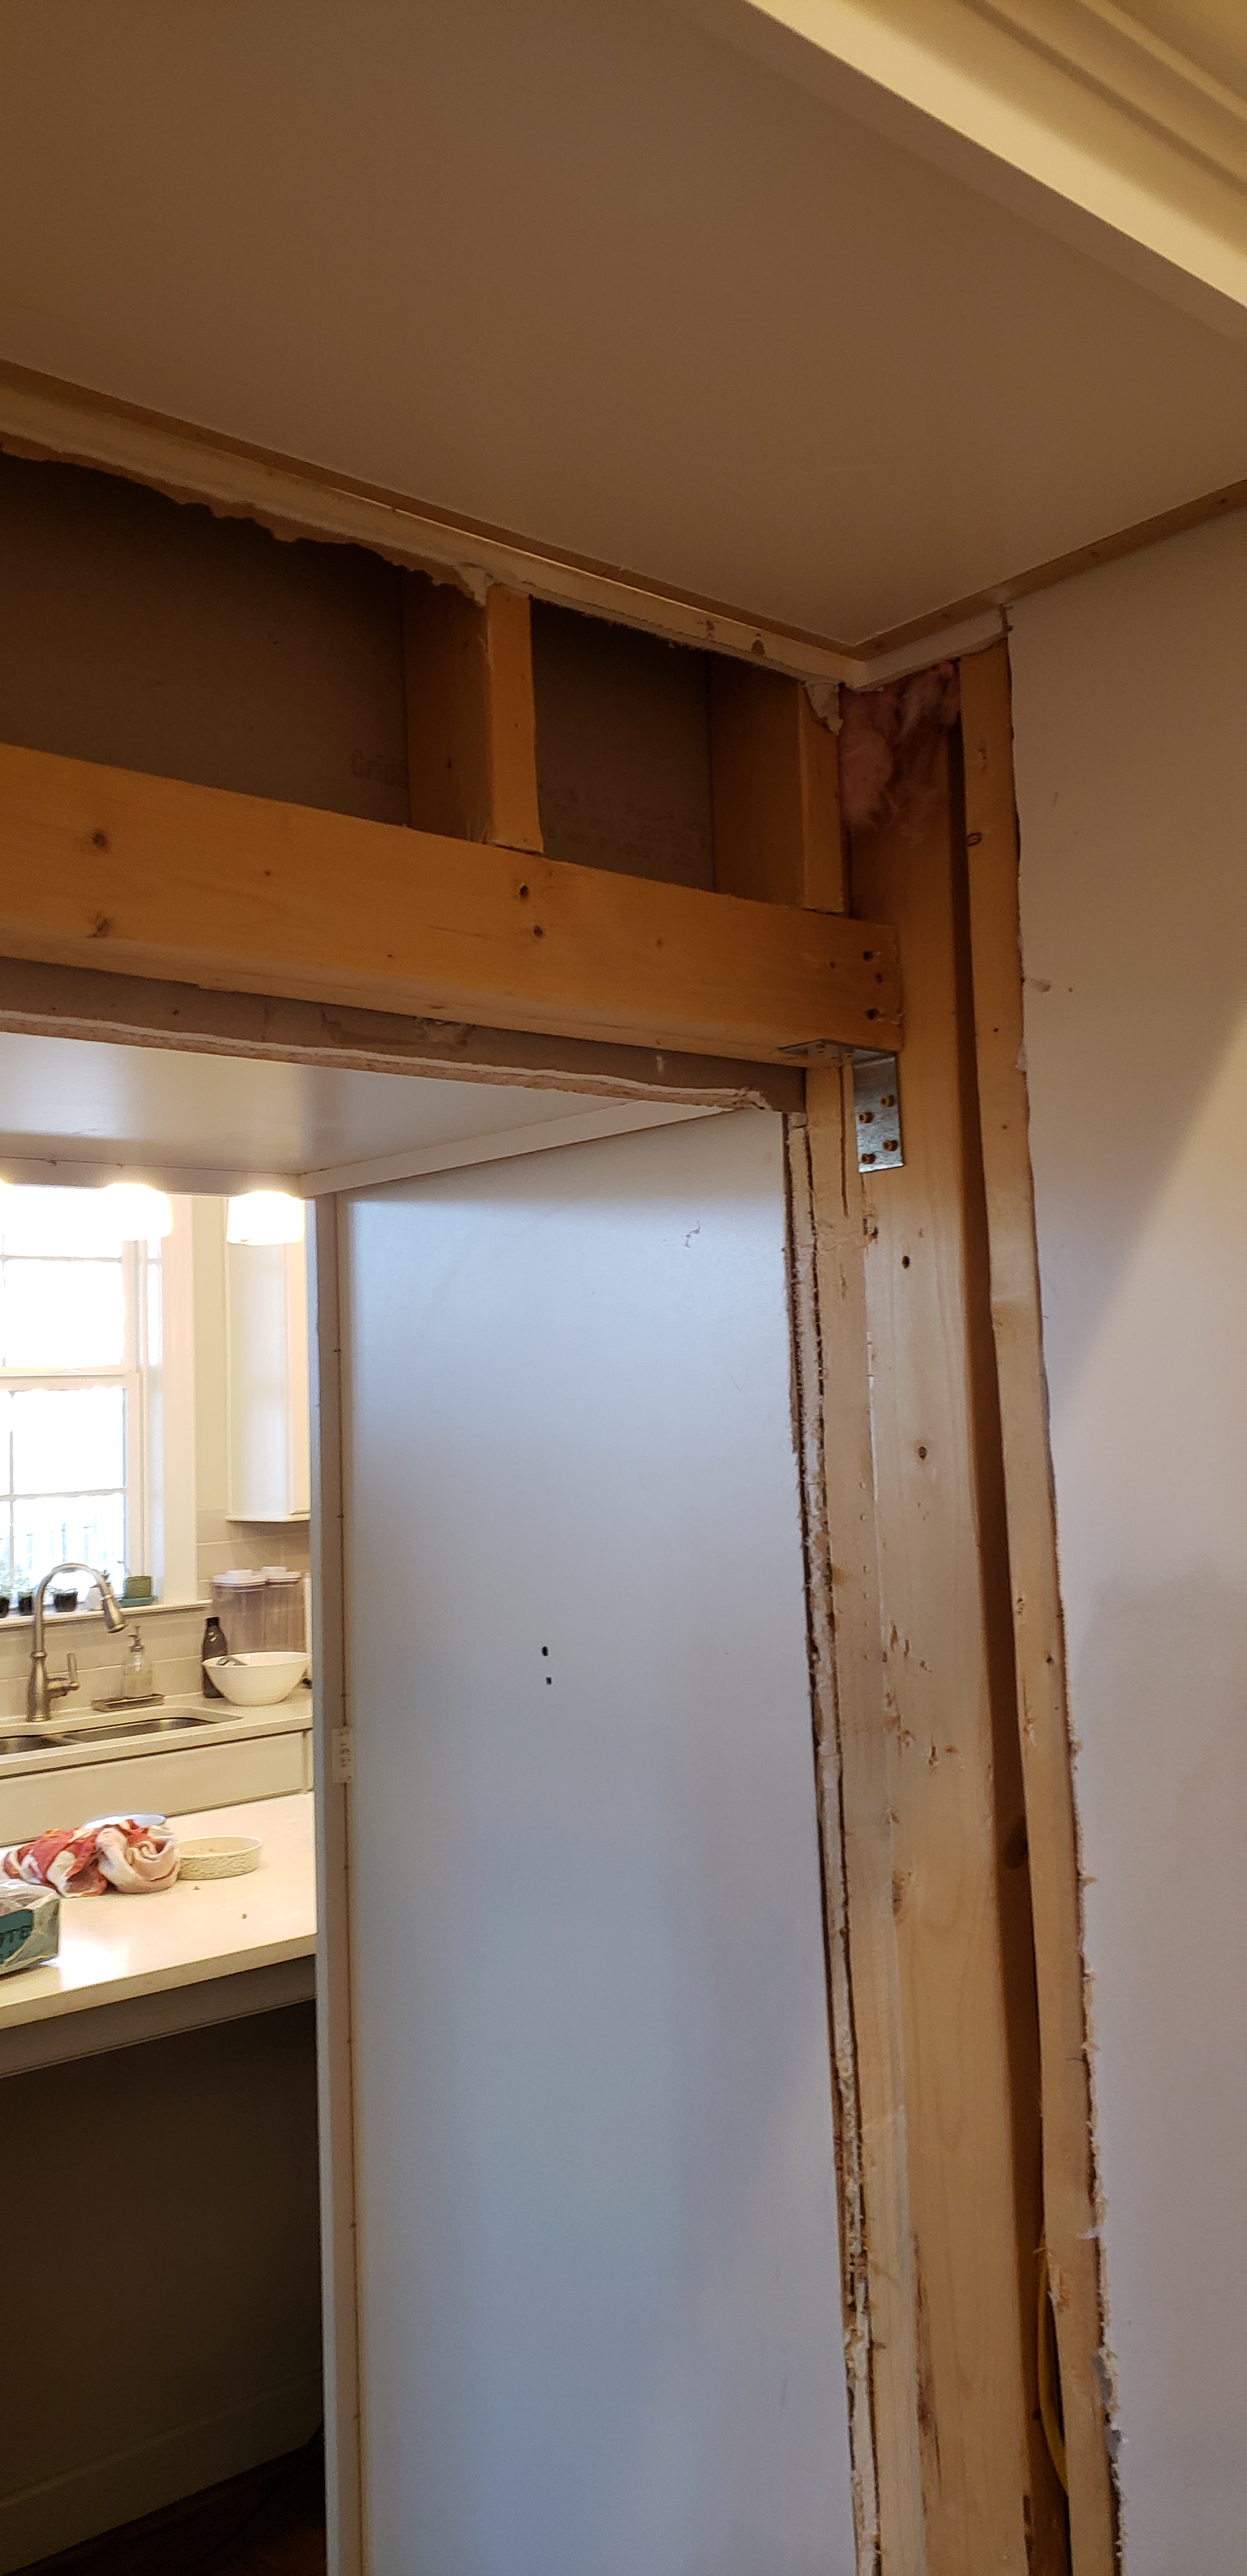
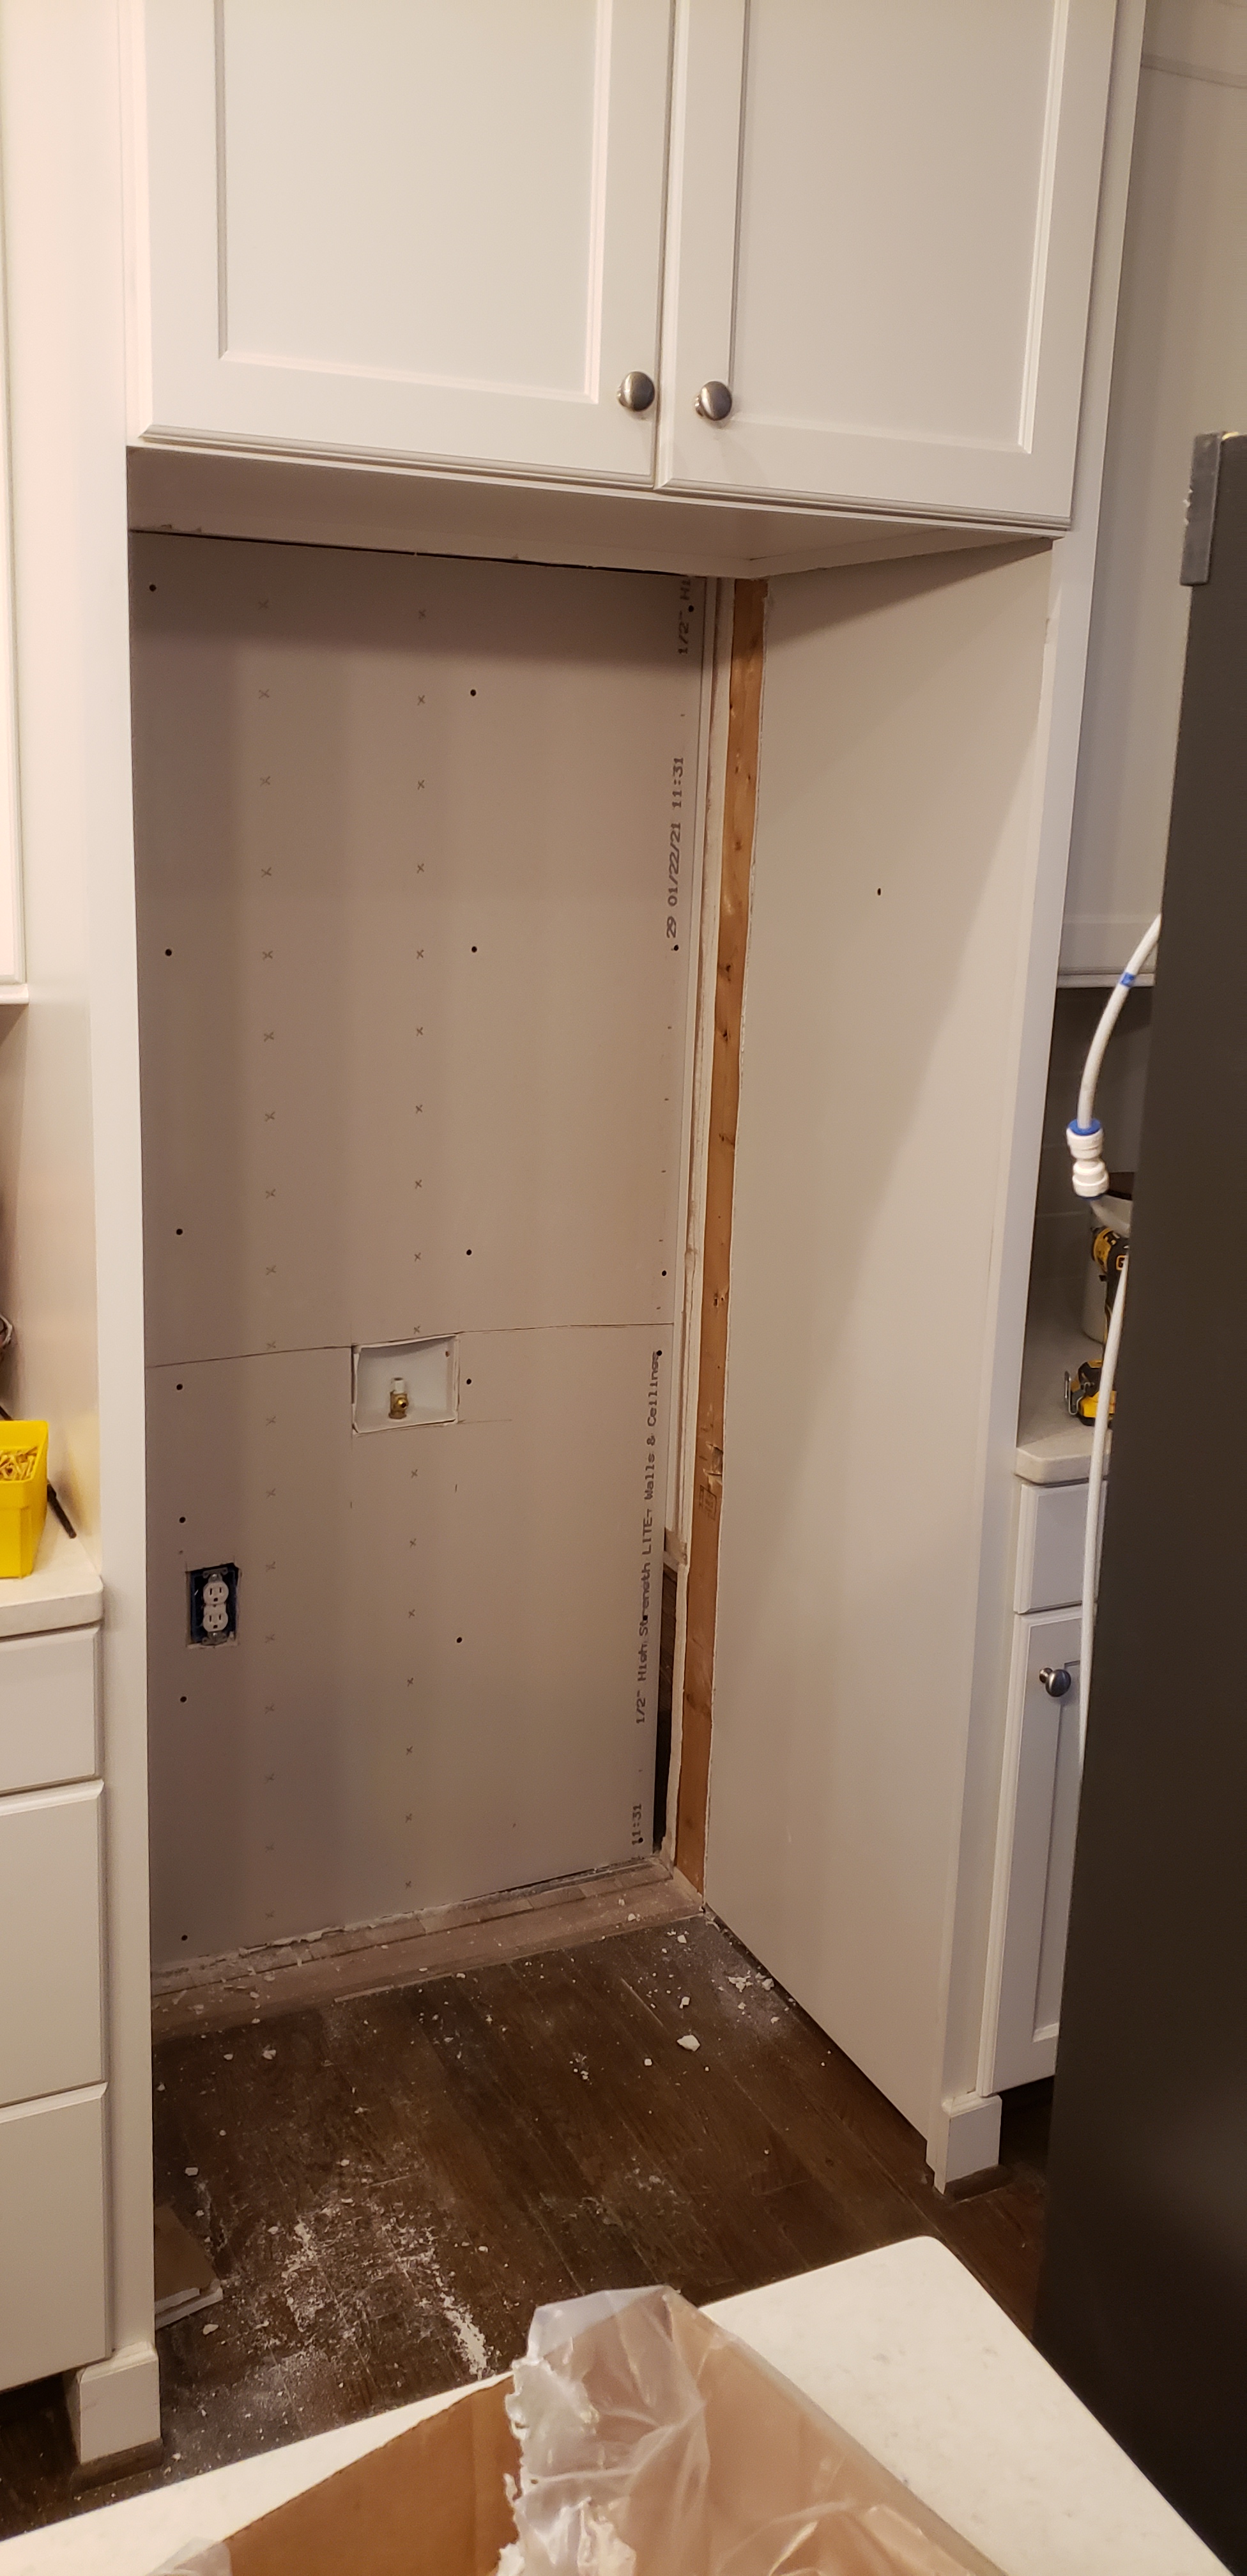
  • Removed all of the interior walls which were covered with drywall (by Dempsey). Behind the drywall we found solid wood beadboard everywhere. We salvaged as much of the unpainted beadboard as we could with the hopes of repurposing it.
  • We reframed the entire interior. Instead of having 2 living rooms in such a small house we decided to make one of the living rooms an office/guest room space to go along with a dining room, two other bedrooms, 2 bathrooms, a laundry room, and a smaller more efficient kitchen than what the house previously had.
  • We removed 2 non-functional fireplaces that had failing brick (one from the living room that is becoming an office and the other from the kitchen). The bricks were so damaged they literally crumbled into dust in our hands. The kids REALLY enjoyed demo-ing the fireplaces. Fortunately for us, the house has a third stone fireplace in remaining living room that we plan to make the focal point of the room.
  • We completely rebuilt the entire back of the house. The rear of the house had once been a rear porch that was enclosed in the 1950’s to make a bathroom and a laundry room. It had a shed roof and due to the previous life as a porch, the floor had a steep slant away from the house. We reframed everything from the joists to the rafters, complete with a new pitched roof to match the rest of the house.
  • We’ve run new electrical lines to the entire house and moved the old circuit breaker box from the front of the house to the room that will eventually become our laundry room at the rear of the house.
  • The subfloor in the first half of the house had to be completely removed, joists replaced, and refloored for structural integrity.
  • We’ve got the house’s well back up and running, and added new plumbing runs to the house to supply not only the kitchen, laundry and bathroom, but an entire second bathroom that will be off the main bedroom. Considering this house once relied on an outhouse, I’d say that’s a huge upgrade!
  • We’ve started the very long process of scraping 100 year old paint off the side of the house and repainting the siding and trim. Amazingly, every lead test performed on the old paint indicated NO LEAD, but we have been taking precautions nonetheless as if it were lead based paint. As painting is often a one woman show – and only happens on days where the weather is cooperating – we have three quarters of the original wood siding and trim done, but soffits and eaves around the whole house still to go.
  • We’ve learned the art of reglazing old glass windows and to date we have restored 6 of the home’s original windows – wavy glass and all. We still have quite a few windows to reglaze and a few of the windows have cracked glass panes which will need to be replaced.
  • We’ve installed 2 concealed duct mini split air conditioners with heat pumps in the attic. Hopefully the cold winters and sweltering summers will soon be an outside only experience. We also completely insulated the walls, floors and ceilings.
  • We’ve reinstalled the salvaged beadboard on the ceilings of all three bedrooms and we completely love the warmth it brings to each room.

In all we’re pretty happy with our progress thus far on our cottage. Foolishly Mike and I both thought we’d be further along by now, but we are still moving in the right direction. In a few weeks the house is getting a new roof and shortly thereafter we’ll be ready for our initial round of inspections. I cannot tell you how much we are looking forward to installing drywall, flooring and real plumbing fixtures.

Life Gets Busy, You Know?

It has been such a long time since our last blog post, and well, that’s simply because life gets busy! Between kids, starting a new business and working like crazy, vacations, and so on, I have been remiss in updating our blog posts. For more frequent updates on what we’ve got going on, check out our Facebook page (@thehandyhavrilchaks) or our Instagram account (also @thehandyhavrilchaks). We update both several times a month.

Moving a Fireplace?!?

It has been a hot minute since I have updated our blog, despite my best intentions.  I can’t tell you how many times I have thought to myself, “I should write a post about this project Mike and I have been working on,” but then get sidetracked in the hustle and bustle of life.

Back in March (wow! how has it been 4 months already?!?) I shared our mudroom makeover (which I still love so much) and lo and behold it evolved into a living room make-over! 

So, some background…. I listed my house for sell about 3 years ago, although fortunately or unfortunately for me, it did not sell.  The market quite simply was not as blazing hot as it seems to be right now where houses sell sight unseen and often for thousands above asking price, but I digress. While my house was on the market, I received feedback from a few buyers that they thought the “layout” of my living room and kitchen was a little tight for a house the size of mine, in my neighborhood, etc.  This feedback did not surprise me one bit, and I spent days (weeks) dreaming up ways to make my living room and kitchen feel more spacious.

The main problem with my living room actually wasn’t the actual size of the room, it is after all 15’ x 18’, but rather the placement of the fireplace in the living room.  The fireplace, which I loved (building the mantle up to the ceiling was actually my first project in the house), was placed dead center along the longer wall of the living room. As the fireplace is the focal point of the room, I obviously tried to arrange my furniture around it, but this left the space feeling tight due to the natural hallway that connects the living room to the foyer and the kitchen. I roughly had an 11’ x 11’ square in front of my fireplace to arrange my furniture and considering almost any couch is about 30” – 36” deep the furniture ended up feeling very close to the fireplace. 

Since I knew the problem was the fireplace location, I began thinking up ways to literally move the fireplace to the adjacent wall.  I became a little obsessed with the idea…. I spent weeks looking for a fireplace that would meet the following criteria:

  1. A slim profile and not protrude more than 15” into my living space
  2. Have a gas hookup (as I am not a fan of electric fireplaces)
  3. Look like it belonged in the house
  4. Must be ventless
  5. Preferably not break the bank

It turned out what I was looking for practically didn’t exist; after weeks of looking, I paused my search and my dream of relocating the fireplace. Fast forward 2 years to the midst of our mudroom makeover, I reminded Mike once again of my desire to relocate the fireplace and on a whim I started searching again for a fireplace that would fit the bill.

Only this time, I actually found something that would work!  And when I found it, Mike didn’t object to me buying it despite being already knee deep in a renovation (I love this guy)!

I ordered an Empire Boulevard 36” Vent Free Linear Fireplace from Fine’s Gas, and it met all (ok, most) of my criteria:

  1. A slim profile (our finished mantle only protrudes 11” into the room)
  2. Its gas powered
  3. It looks like it has always been in the house – and I especially love the bit of sparkle the glass pebbles provide
  4. Its vent less which means it did not have to be placed along an exterior wall
  5. Ok, it wasn’t especially budget friendly, but a splurge is worth if for the right piece, right?

Despite being mid mud-room renovation when I ordered it, and when the new fireplace arrived, Mike and I wasted no time prepping for install (because who doesn’t want two major projects taking place at the same time!?!).

We first determined the correct placement of the fireplace on the 15’ living room wall, centered below the center square in our coffered ceiling, and then demoed the existing drywall.  Mike framed out the new wall/fireplace hole per the vendor specifications and then we started the process of moving the gas line from the existing fireplace that we had to the new location on the other side of the room.  Fortunately for us our gas line was easily accessible in our crawl space and was done with flexible gas line as opposed to a rigid piping. Mike did some minor electrical work to provide electricity to the starter and we were set. 

Because I loved our previous fireplace so much, we decided we were going to attempt to recreate the previous blue floor-to-ceiling mantle with a few small modifications.  I found this photo on pinterest of a vintage fireplace mantle and I fell in love with the fluting along the front – fortunately so did Mike. 

Isn’t this beautiful?

We spend the next few days cutting molding, wood filling and caulking holes, and then painted the entire fireplace a beautiful deep blue.  Once the paint was dry, the next step was filing the cement board surround around the fireplace opening.  I found a beautiful mother of pearl subway tile and I installed it using Musselbound tile adhesive mat – seriously the easiest tile job I have ever done!

The final(ish) fireplace. I have plans to build a screen to hide the TV when we are not using it… more to come!

All in all, I am absolutely thrilled with how the movement of the fireplace from one wall to another completely opened up my living room and makes it feel so much more spacious!  We ordered a new sectional (which unfortunately has only half arrived) and I cannot wait until our room is complete.

In a galaxy far, far away…

We are in a bit of a project drought at the house… well, not really, but the big project we have been working on in our living room isn’t quite ready to be revealed yet, and most of our free time lately has been spent building projects for our wonderful neighbors. So today I am going to share a project that we did in December for our two youngest boys, aka “the littles.”

Early in the month of December I asked my boys what they wanted for Christmas, and much to my surprise instead of a long list of toys, my two little boys both asked for a new bedroom (they share a room). They both felt they had outgrown their dinosaur themed room and at nearly ten and eight years old, I guess they were kind of right.

BEFORE: This was more or less their “before” bedroom. As a part of their room makeover, we did swap the little’s bedroom with my oldest son, so the window placement changed just a bit, and SILLY me, I did not take a true “before” photo before starting this project.

I asked what they’d like in a bedroom design and they both agreed that they wanted a space themed room. I was excited to try something different, but most of the space themed kid rooms I was finding online felt very “little kiddish” and the whole point of redoing their bedroom was to give them a space that could grow with them. I started toying with the idea of painting a spacy, galaxy mural on their walls and before I knew it, I had a plan. The boys went to spend a week at their dad’s and Mike and I got to work.

Mike and I had previously discovered what appeared to be an unused cavity in the wall leading to the little’s closet that we thought would be perfect for a display shelf and we got started on that. We cut an exploratory hole to confirm our suspicions, and then opened it wide up. Once we had the hole, we moved the existing light switch for the closet from outside the closet door to inside the closet (and added a motion sensor switch because the boys are forever leaving their closet light on), and we prepped an electrical outlet for inside the shelving unit. We then took the necessary measurements for the shelf and started building the frame insert in our driveway out of 1/2″ white birch plywood. After the triangle shaped insert was done, it was another trip back up to the little’s room to test the fit. After we secured the shelf in place, we added molding trim to match the window casing in the room and cleaned it up with a few coats of our trim paint (SW Snowbound).

Now that the shelf was complete, we were ready for the rest of the room! I am a bit of a paint hoarder, so I already had all of the paint colors I needed to do the mural with the exception of the base color. I visited my favorite paint lady, Mary Anne (yes, I know how crazy this sounds, but again, I am a paint hoarder so of course the paint lady is my friend) and picked up a gorgeous navy blue color by SW called Dark Night.

We started by painting the walls with two coats of the SW Dark Night. Even with a built-in primer there were some spots where I could still see the previous gray peeking through, but I wasn’t too worried given my plans to paint a mural.

I’ll be honest, I loved the color of the dark wall so much, I seriously considered stopping here, but I decided to stick with my original plan, thinking that if I did not like the way the mural turned out, I could always paint over it again, right?!?

I laid out the paint colors that I had selected for the galaxy mural and I got to work.

Aren’t these colors fabulous?!?

I wasn’t entirely sure how I was going to get the cosmic effect, but I decided to start by “sponging” (yes, like the bad 1980’s paint treatment sponging) the various colors in layers using a plastic shopping bag as my “sponge”. I found it worked best if I applied one or 2 colors directly to the bag and then blotted it repeatedly to blend and lift the colors.

After my first few passes I was sweating bullets thinking I was going to hate the final outcome, and I would be repainting the walls navy again. But I kept the course, continued dabbing and layering colors, and eventually ended up with this:

Thrilled with how the first wall turned out!!!

I actually loved how the wall was looking so much I started contemplating painting all of the walls to match…. was I crazy? I deliberated for a day, going back and forth on whether or not the full room galaxy would be TOO much of a good thing, or if I should just go for it. One way or another I was going to need to paint the other walls as the previous gray color looked very drab next to the vibrant colors of the mural. I ultimately decided to just go for it because it’s only paint, right?!? I added tons of little stars to the mural using the end of a small craft paint brush dipped in white paint, and for a final touch I added a few dabs of iridescent glitter paint that look amazing when they catch the light.

And the final room:

To complete the space theme in the room I bought the boys rocket themed bedding from Target (the gray quits are embroidered with little blue rocket ships), colorful Mars prints from Amazon that I matted and framed (silver frames from Michael’s), and I repainted their dresser in SW Navel and added new drawer pulls. We built a cool floating bookshelf (basically just a box from 1/2″ plywood), also painted in SW Navel, to serve as a nightstand between their two beds.

Keeping this room hidden from the two littles in the days leading up to Christmas was a bit of a challenge, but they were thrilled with their new room come Christmas morning. As much as this room was done for the boys, every time I walk past it I smile…. it’s a pretty cool room.

Tackling the mudroom!

I have been known to get a little carried away about my dislike of mudrooms in houses (I really am not a fan of them). Sure, they look all beautiful and dreamy when you tour a brand spankin’ new home with the built-in shelving, benches, and coat hooks; but fast forward to real life, more often than not they end up a total cluttered mess.  To make matters worse mudrooms usually lead directly into the garage and in our house its practically the only door my family ever uses.  We enter and leave the house through the mudroom every day, so the inevitable clutter reminds me every time I walk through the space that I have a mess of shoes, coats, backpacks, discarded school papers, pet supplies, and usually several tools from recent projects desperately waiting for me to address the situation. 

Our mudroom was not working for us from a storage standpoint and it was more or less a narrow hallway leading to our garage door with an awkward pinch point further limiting the space.  Entering through the mudroom door usually involved an overzealous greeting from our critters and the first person to enter the house would block anyone else from being able to easily enter -> I am not complaining about the happy critters, they bring us so much joy!

I mean, it wasn’t horrible….

Our fridge expansion forced us to do something with the mudroom, and since we had the opportunity to make a change, I decided we were going to be ALL IN!  I literally found myself scrolling for hours on Pinterest through countless images of drool-worthy mudrooms, set on a mission to make our space more functional and beautiful for our family (ok, just me, I don’t think anyone else really cared about the mudroom at all).

I knew right away that I wanted to change the placement of the door leading to the garage from the mudroom.  I know, I know this sounds like a HUGE change, and in a lot of regards it really is A HUGE CHANGE. However, it was a change Mike and I both thought would make for a more functional space not only in the mudroom, but in the garage too.  

The location of the garage door and the subsequent platform to get to said door consumed a lot of space in our garage – approximately a 12’ x 6’ area of floor and wall space was virtually wasted to simply enter and exit the house.  By moving the door placement to the adjacent wall, we freed up 72 sq. ft. of space in our garage for storage (although its currently a messy nightmare of its own) AND gained additional space for creating more storage in the mudroom (again a win/win!).

Since I am pretty sure that without an image, no one will understand what I am describing.

We knew that the door to the garage needed to change, but when we first started making the change we immediately ran into issues.  For starters when Mike cut the hole to start the process of moving the door, he soon realized that we had measured the location of the new door incorrectly and it wasn’t going to butt up tightly against the wall like we had envisioned.  It was back to the drawing board for us…

No turning back now!

We pumped the brakes a bit as this project was getting a little more intense and we needed to make sure we were getting our next steps right. While staring at the mudroom and internally berating myself repeatedly for the snafu, an entirely new solution presented itself, and that was to keep the garage door in its new location and to then expand the opening to the mudroom/bar area in line with the arched doorway to the dining room (this project was GROWING). 

Once the basics of the layout were situated, we got started on the new built-in bench and shelves.  We decided to use MDF for the construction of the shelves to match what our builder had previously installed, primarily because it paints so beautifully (even if it does make a tremendous amount of sawdust and weighs a ton!).

After the new built-in was assembled and painted, we decided (well, I decided, and he said “yes dear”) that the walls also needed some crisp white board and batten.  We ripped down a sheet of ¼” plywood to 4” wide strips, cut them to size, meticulously sanded all of the edges, and then secured the plywood directly to the drywall using our trusty finish nailer.  I then wood filled a million tiny nail holes and got to caulking all of the seams where the plywood met the wall.  I capped the plywood with a fairly simple decorative molding and then proceeded to apply the same bright white paint to the exposed wood.

It’s amazing what some strips of plywood can do to a wall!

As if a new layout, built-ins, and board and batten weren’t enough, I then decided to take the design up a notch with some bold peel and stick wallpaper from NuWallpaper that I found on Amazon (link). While I absolutely love the way the wallpaper turned out, boy was it a pain in the butt to hang!  Due to the large scale of the design, I had so much unusable wallpaper leftover, and don’t even get me started on the tedious task of lining up the patterns.  I’ll be honest, I had never used peel and stick wallpaper before, but despite the hassle of matching up the seams (and the static from peeling off the paper backing), I am a MAJOR fan of how it turned out!

All in all, Mike and I are totally IN LOVE with the way the mudroom has turned out!!! (Yes, I mean each and every one of those exclamation points.) Our floors won’t be finished until we start our kitchen reno in a few months (weeks?!?), but the new door location means that the critters can greet us at when we get home without causing a traffic jam, and I technically don’t have to look at the mudroom (should it become cluttered) if I don’t want to. We added these cute little canvas baskets, also from Amazon (link), to help hide some of our clutter.  Now to keep the space clean and organized….

A much needed, larger refrigerator…

So, it feels a little ridiculous writing our very first blog post about our refrigerator, but it’s the fridge that started us on a series of projects early this year. You see, our refrigerator was a beauty…. shiny stainless steel, with amazingly bright LED lighting, and it came with a built-in Kuerig! Um, yes, our refrigerator could make a plethora of hot and delicious drinks at the push of a button. However, this lovely appliance was not without its share of problems, primarily its size (because yes, when it comes to refrigerators size definitely matters!).

We have a large family, and this refrigerator was sadly counter depth. What does that mean? Well, it meant that as wonderful as this refrigerator was, every time we went grocery shopping, I cringed at the thought of having to go home and play Tetris with all our perishable items. Pizza boxes, nope. Thanksgiving dinner leftovers, bigger nope. Three gallons of milk (to support the growing boys around here), ha ha ha, it was never gonna happen. So, we needed a solution because struggling with our refrigerator was getting old.

Mike and I have been talking about renovating our kitchen, which is still in the planning phase, but the challenge of our tiny refrigerator got us thinking outside of the box. We only needed an extra six inches of depth to make a standard refrigerator work, and lucky for us, the wall behind the fridge was in our mudroom.

Side note: I’m not personally a fan of mudrooms as to me they feel like a family dumping ground for junk and since most garages open straight into a mudroom, it’s like being smacked with a reminder of your families clutter every time you enter your home, but I digress…

We started chatting about the prospect of taking the much needed six inches away from the mudroom to support a larger refrigerator in the kitchen, and suddenly we had a very viable solution to our dinky fridge problem (and we’d take the opportunity to make the mudroom a little more functional for our family too)! The project would be a win/win and we were ready to get started.

Our previous dinky fridge.

Don’t be fooled the project started with a lot of ground work, research, and measurements. First we needed to know the exact size of the fridge we were planning to buy, but once we had that info, we were able to start expanding the existing opening.

We started by disassembling the built-in bench in our mudroom to make way for the wall being pushed back. We got super lucky in that the placement of our existing refrigerator did not require us to move the built-in shelving adjacent to the bench seat. After demo was complete we added a 4×4 header into the existing wall (similar to a door way header to keep the integrity of the wall intact) and installed a soffit to bump the fridge cavity back.

View from the mudroom into the kitchen where the new soffit and header was put in.
And here, as viewed from the kitchen, we’ve closed up deeper opening with drywall Up next, drywall mud, sanding, paint and cleanup!

After everything was done, the moment of truth came a few days later when the new standard depth refrigerator was delivered.  I think Mike and I both held our breath as it slid into its new home for the very first time, hoping we hadn’t spent the last few days tearing apart our house (and making a huge mess in the process) for nothing. Alas, our new refrigerator fits!  I personally think its just as pretty as the last (although our kids are trying super hard to prove that fingerprint resistant stainless steel is a myth), and Mike loves to stare into the refrigerator and comment on how empty it looks even right after we get home from the store with a full load of groceries. 

Our new HUGE fridge!
Look at all this space post grocery shopping trip!!!

Next up, mudroom makeover!