We are in a bit of a project drought at the house… well, not really, but the big project we have been working on in our living room isn’t quite ready to be revealed yet, and most of our free time lately has been spent building projects for our wonderful neighbors. So today I am going to share a project that we did in December for our two youngest boys, aka “the littles.”
Early in the month of December I asked my boys what they wanted for Christmas, and much to my surprise instead of a long list of toys, my two little boys both asked for a new bedroom (they share a room). They both felt they had outgrown their dinosaur themed room and at nearly ten and eight years old, I guess they were kind of right.
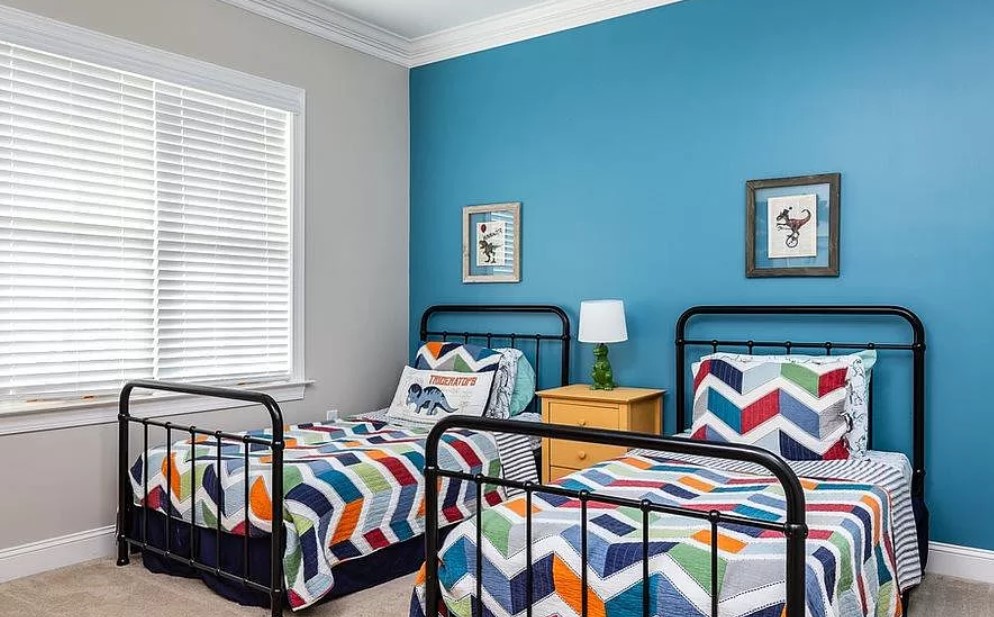
I asked what they’d like in a bedroom design and they both agreed that they wanted a space themed room. I was excited to try something different, but most of the space themed kid rooms I was finding online felt very “little kiddish” and the whole point of redoing their bedroom was to give them a space that could grow with them. I started toying with the idea of painting a spacy, galaxy mural on their walls and before I knew it, I had a plan. The boys went to spend a week at their dad’s and Mike and I got to work.
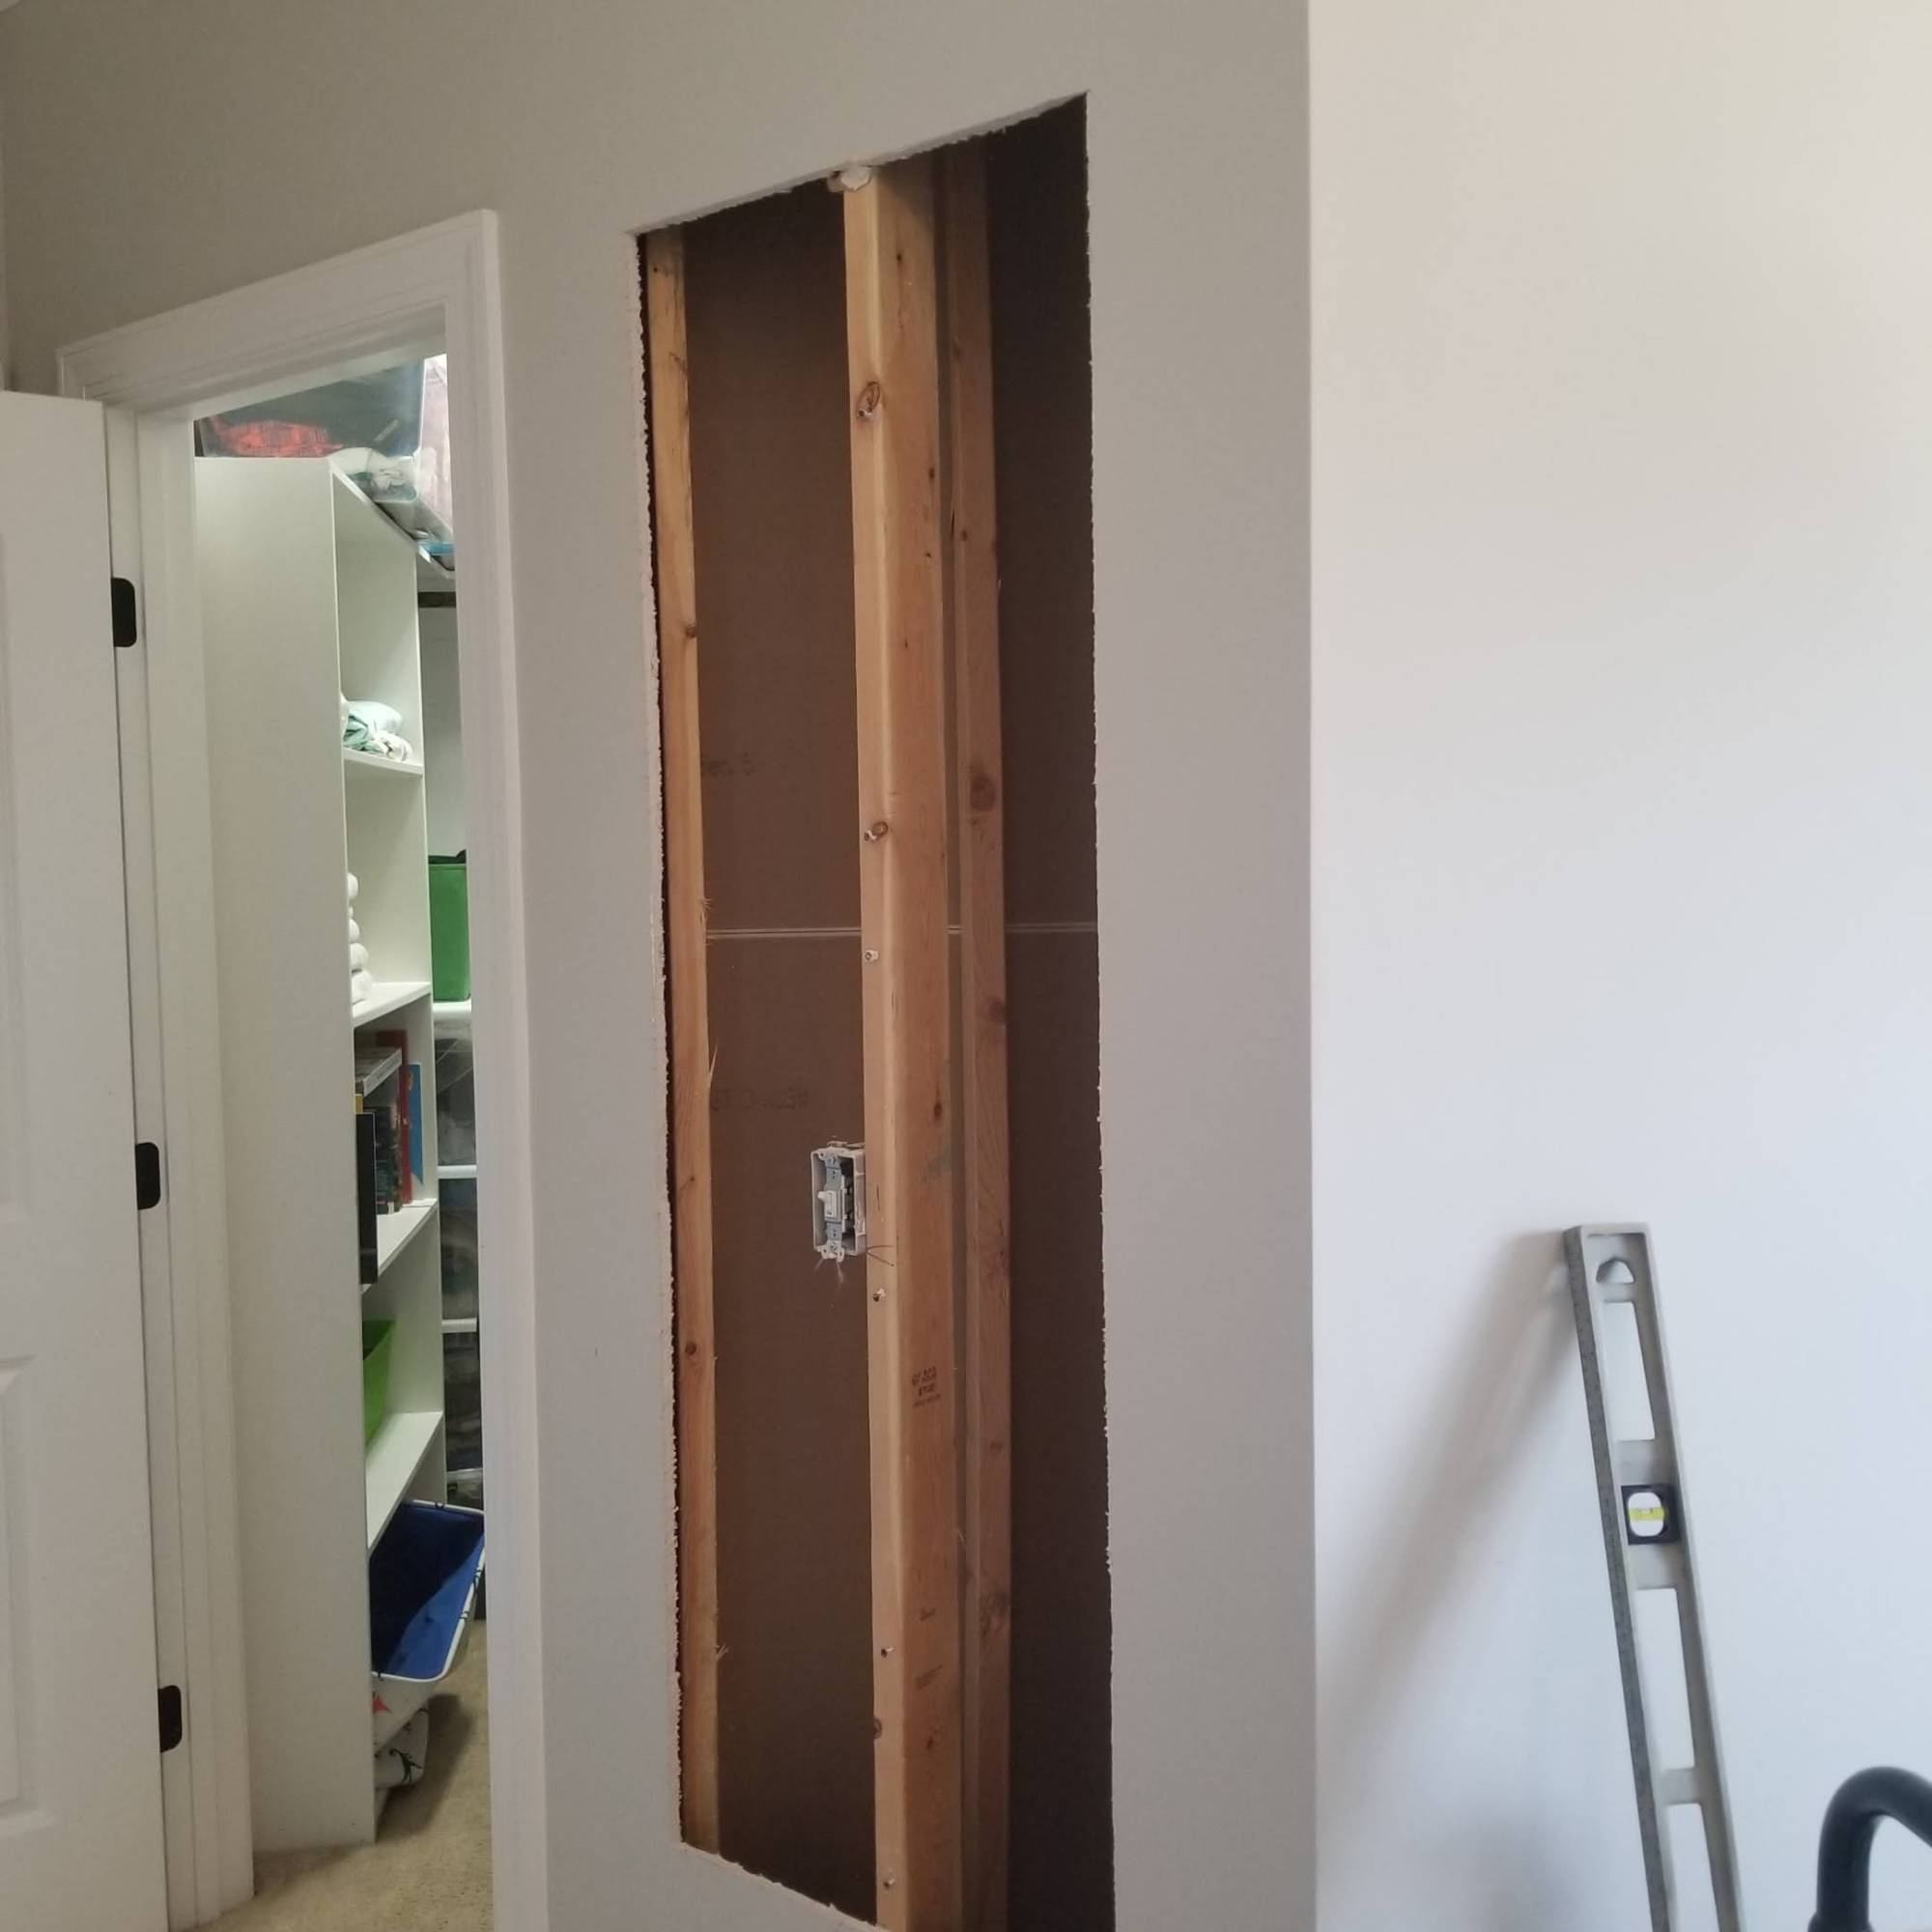
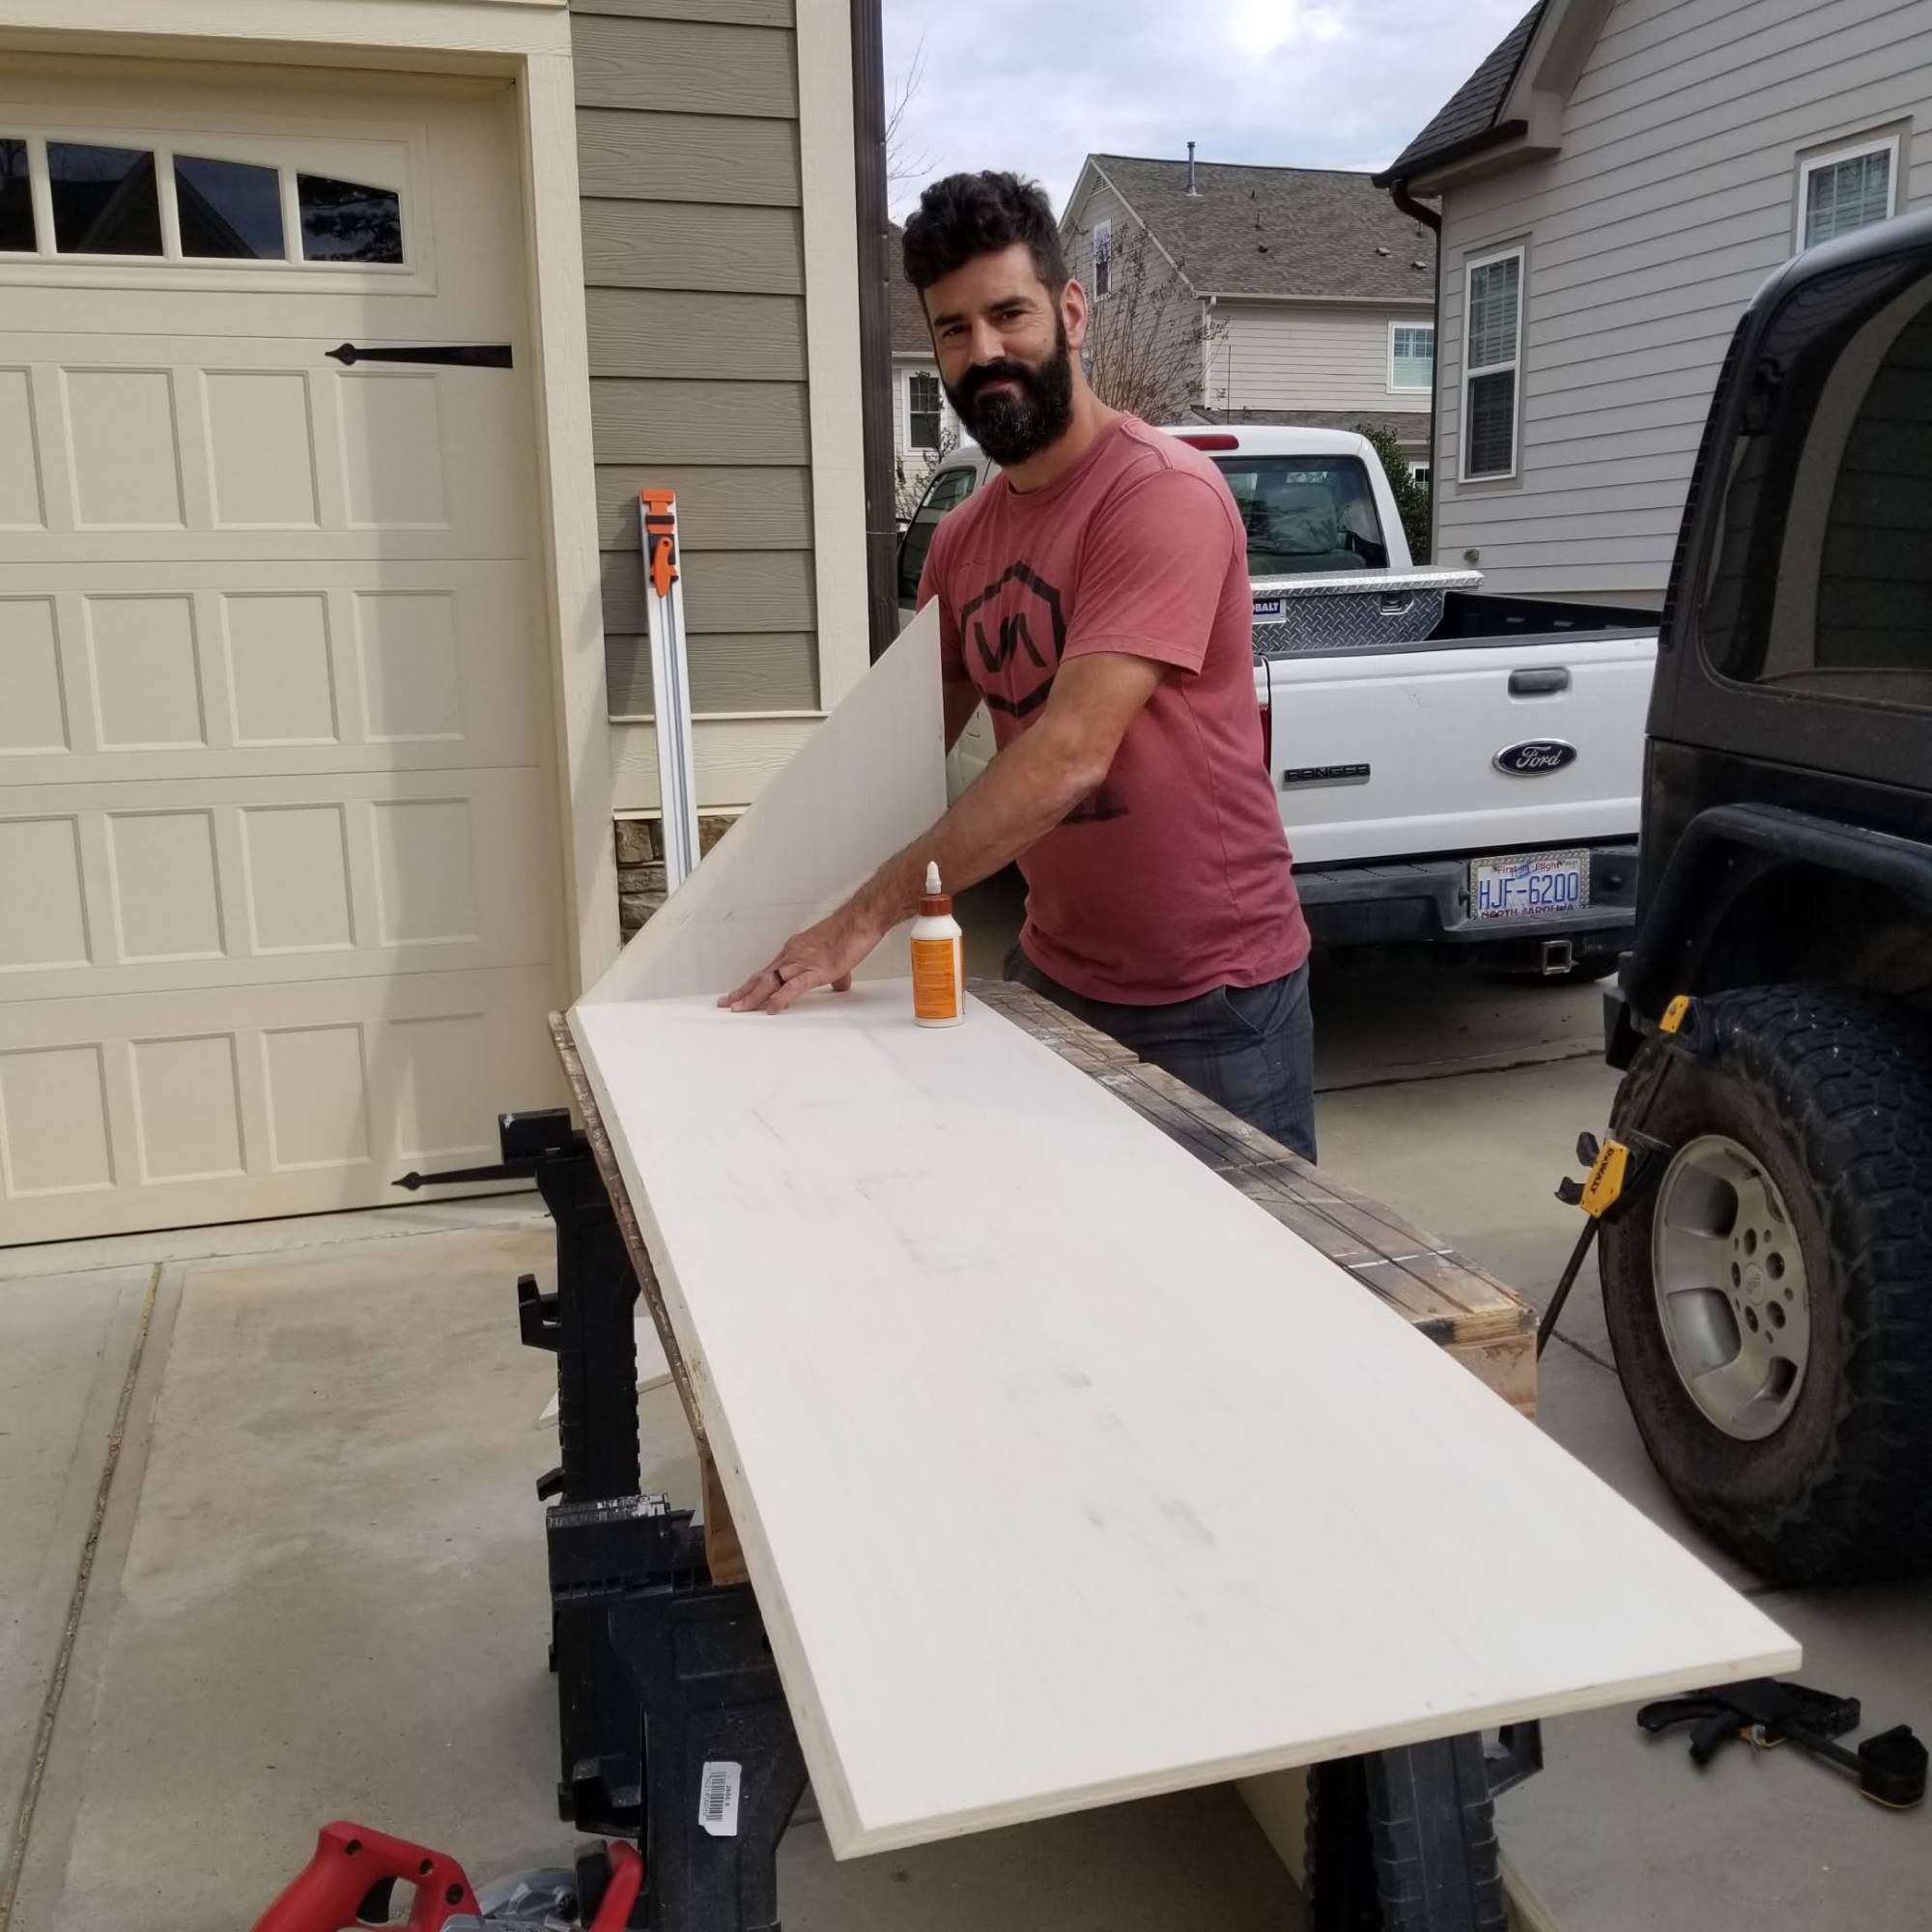
Mike and I had previously discovered what appeared to be an unused cavity in the wall leading to the little’s closet that we thought would be perfect for a display shelf and we got started on that. We cut an exploratory hole to confirm our suspicions, and then opened it wide up. Once we had the hole, we moved the existing light switch for the closet from outside the closet door to inside the closet (and added a motion sensor switch because the boys are forever leaving their closet light on), and we prepped an electrical outlet for inside the shelving unit. We then took the necessary measurements for the shelf and started building the frame insert in our driveway out of 1/2″ white birch plywood. After the triangle shaped insert was done, it was another trip back up to the little’s room to test the fit. After we secured the shelf in place, we added molding trim to match the window casing in the room and cleaned it up with a few coats of our trim paint (SW Snowbound).


Now that the shelf was complete, we were ready for the rest of the room! I am a bit of a paint hoarder, so I already had all of the paint colors I needed to do the mural with the exception of the base color. I visited my favorite paint lady, Mary Anne (yes, I know how crazy this sounds, but again, I am a paint hoarder so of course the paint lady is my friend) and picked up a gorgeous navy blue color by SW called Dark Night.
We started by painting the walls with two coats of the SW Dark Night. Even with a built-in primer there were some spots where I could still see the previous gray peeking through, but I wasn’t too worried given my plans to paint a mural.
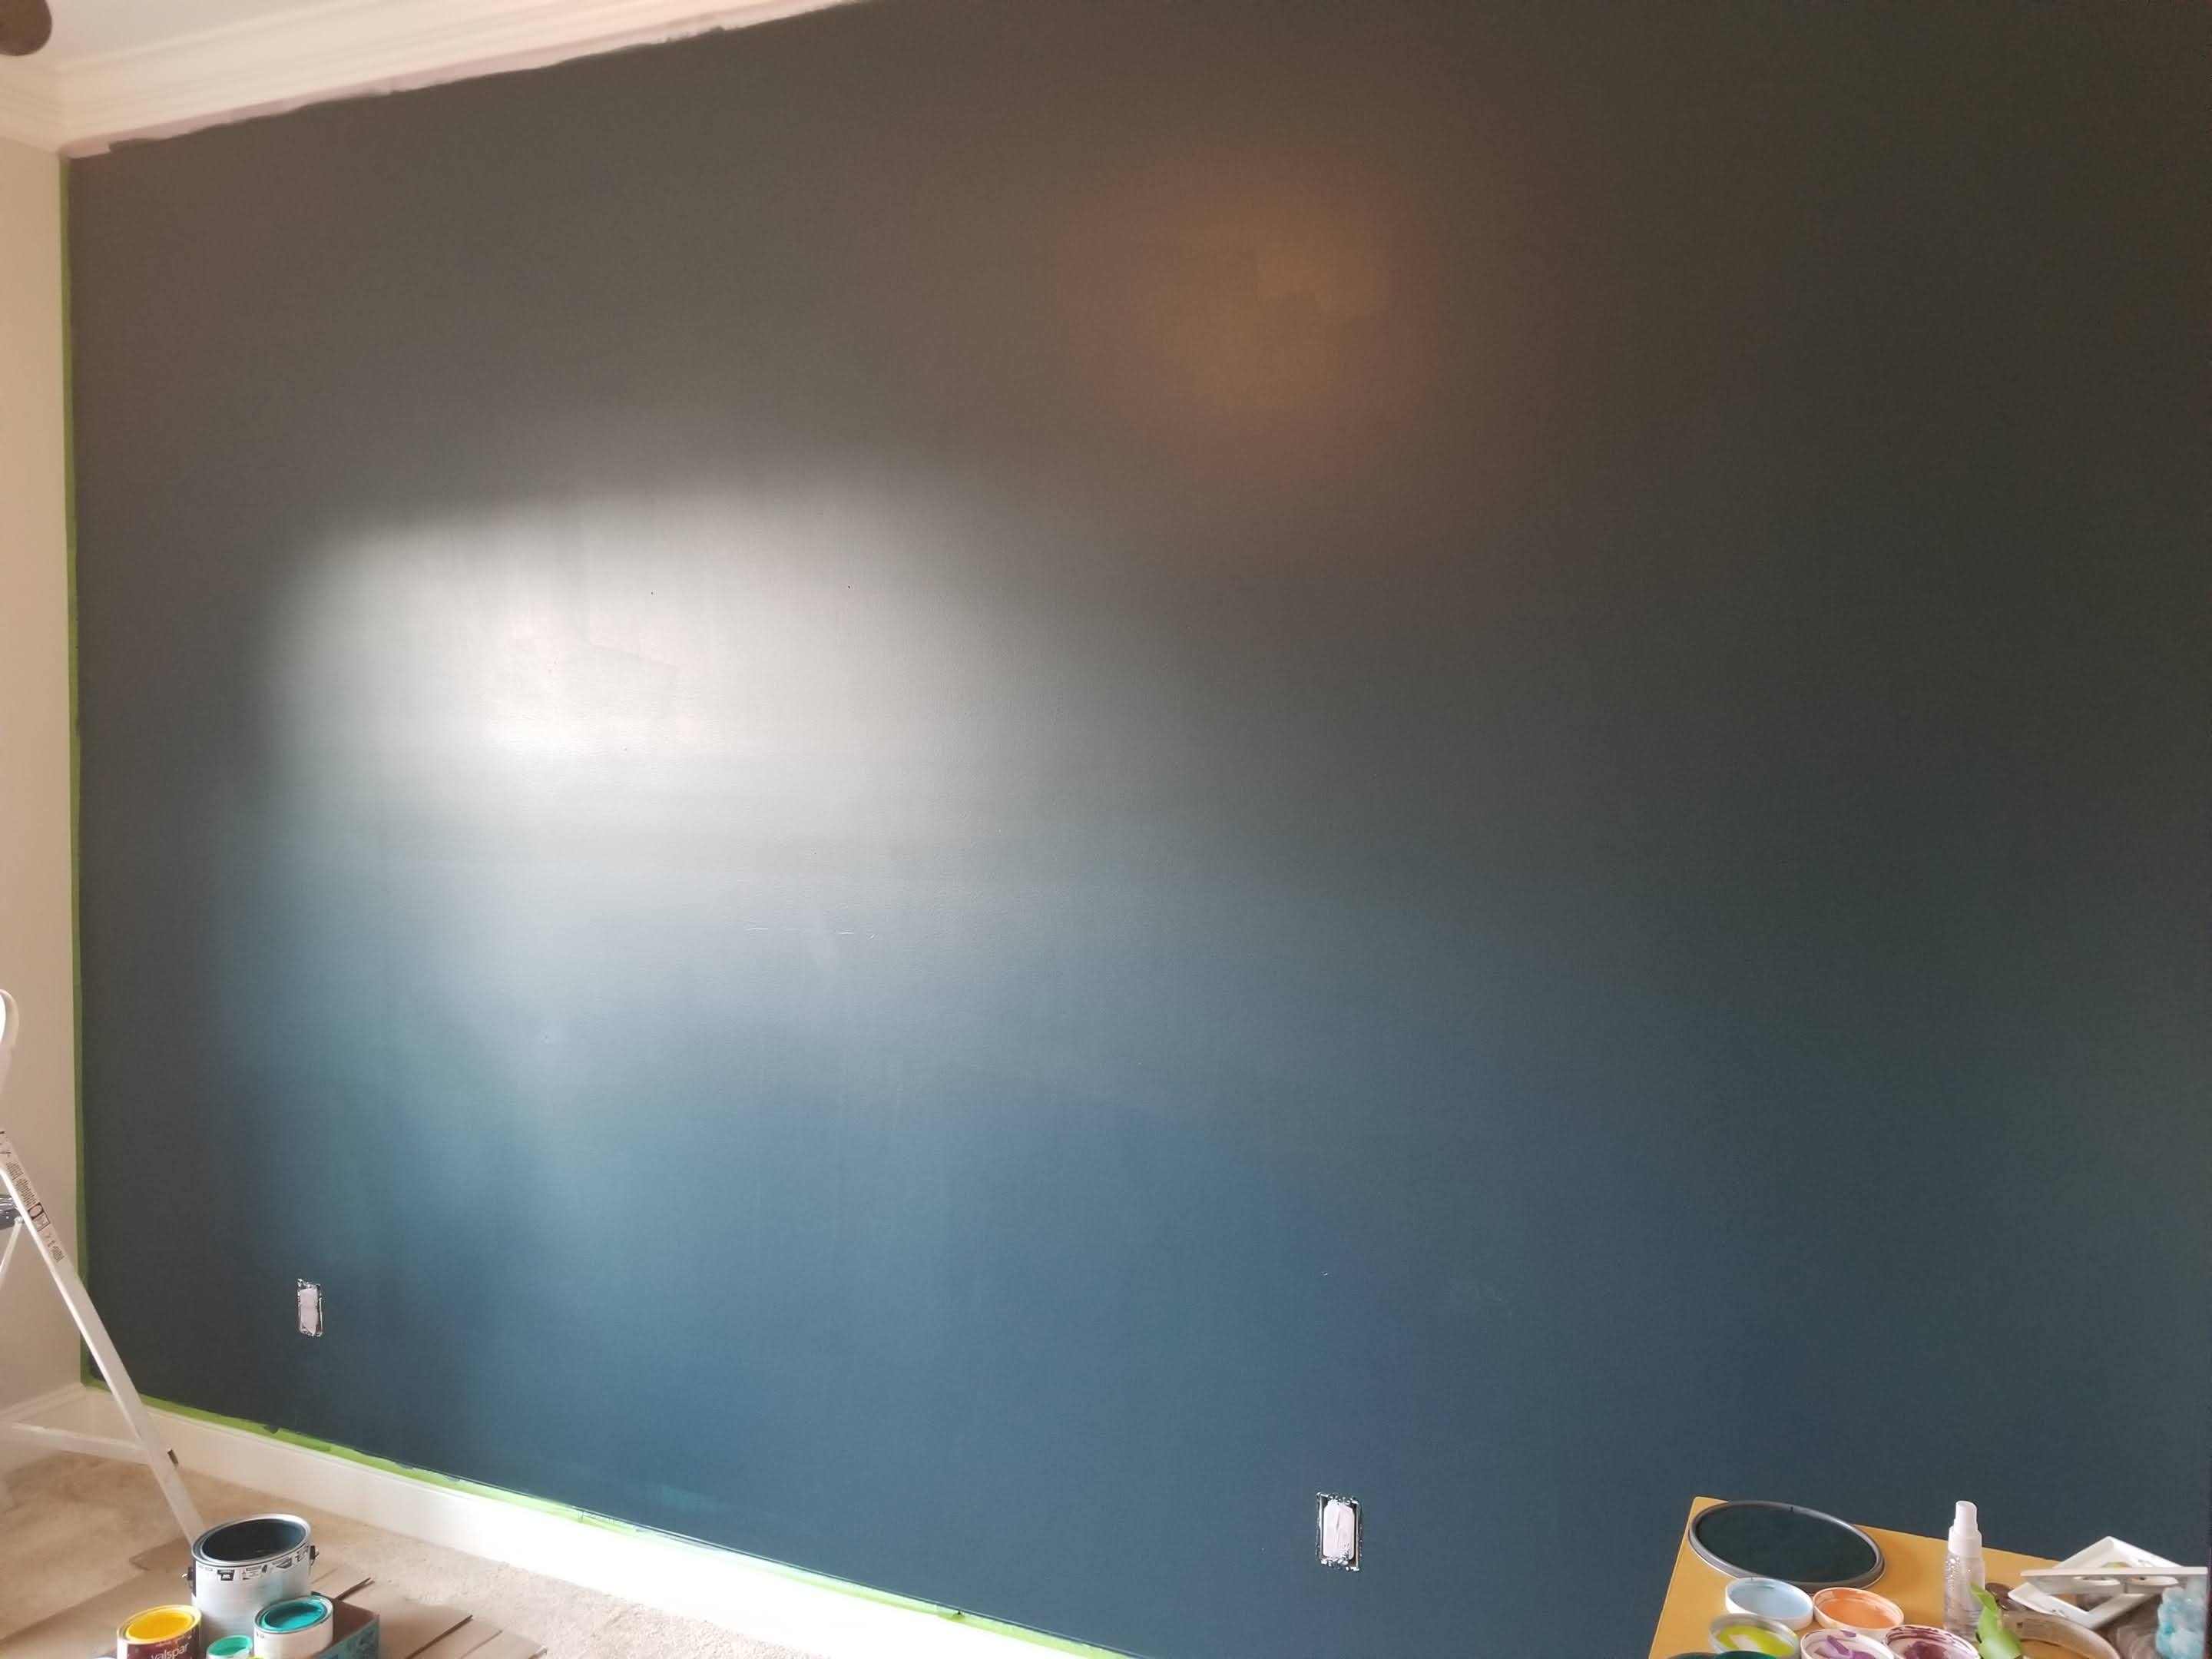
I’ll be honest, I loved the color of the dark wall so much, I seriously considered stopping here, but I decided to stick with my original plan, thinking that if I did not like the way the mural turned out, I could always paint over it again, right?!?
I laid out the paint colors that I had selected for the galaxy mural and I got to work.
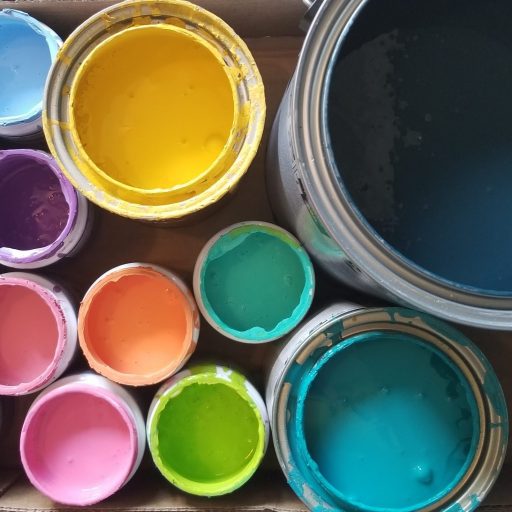
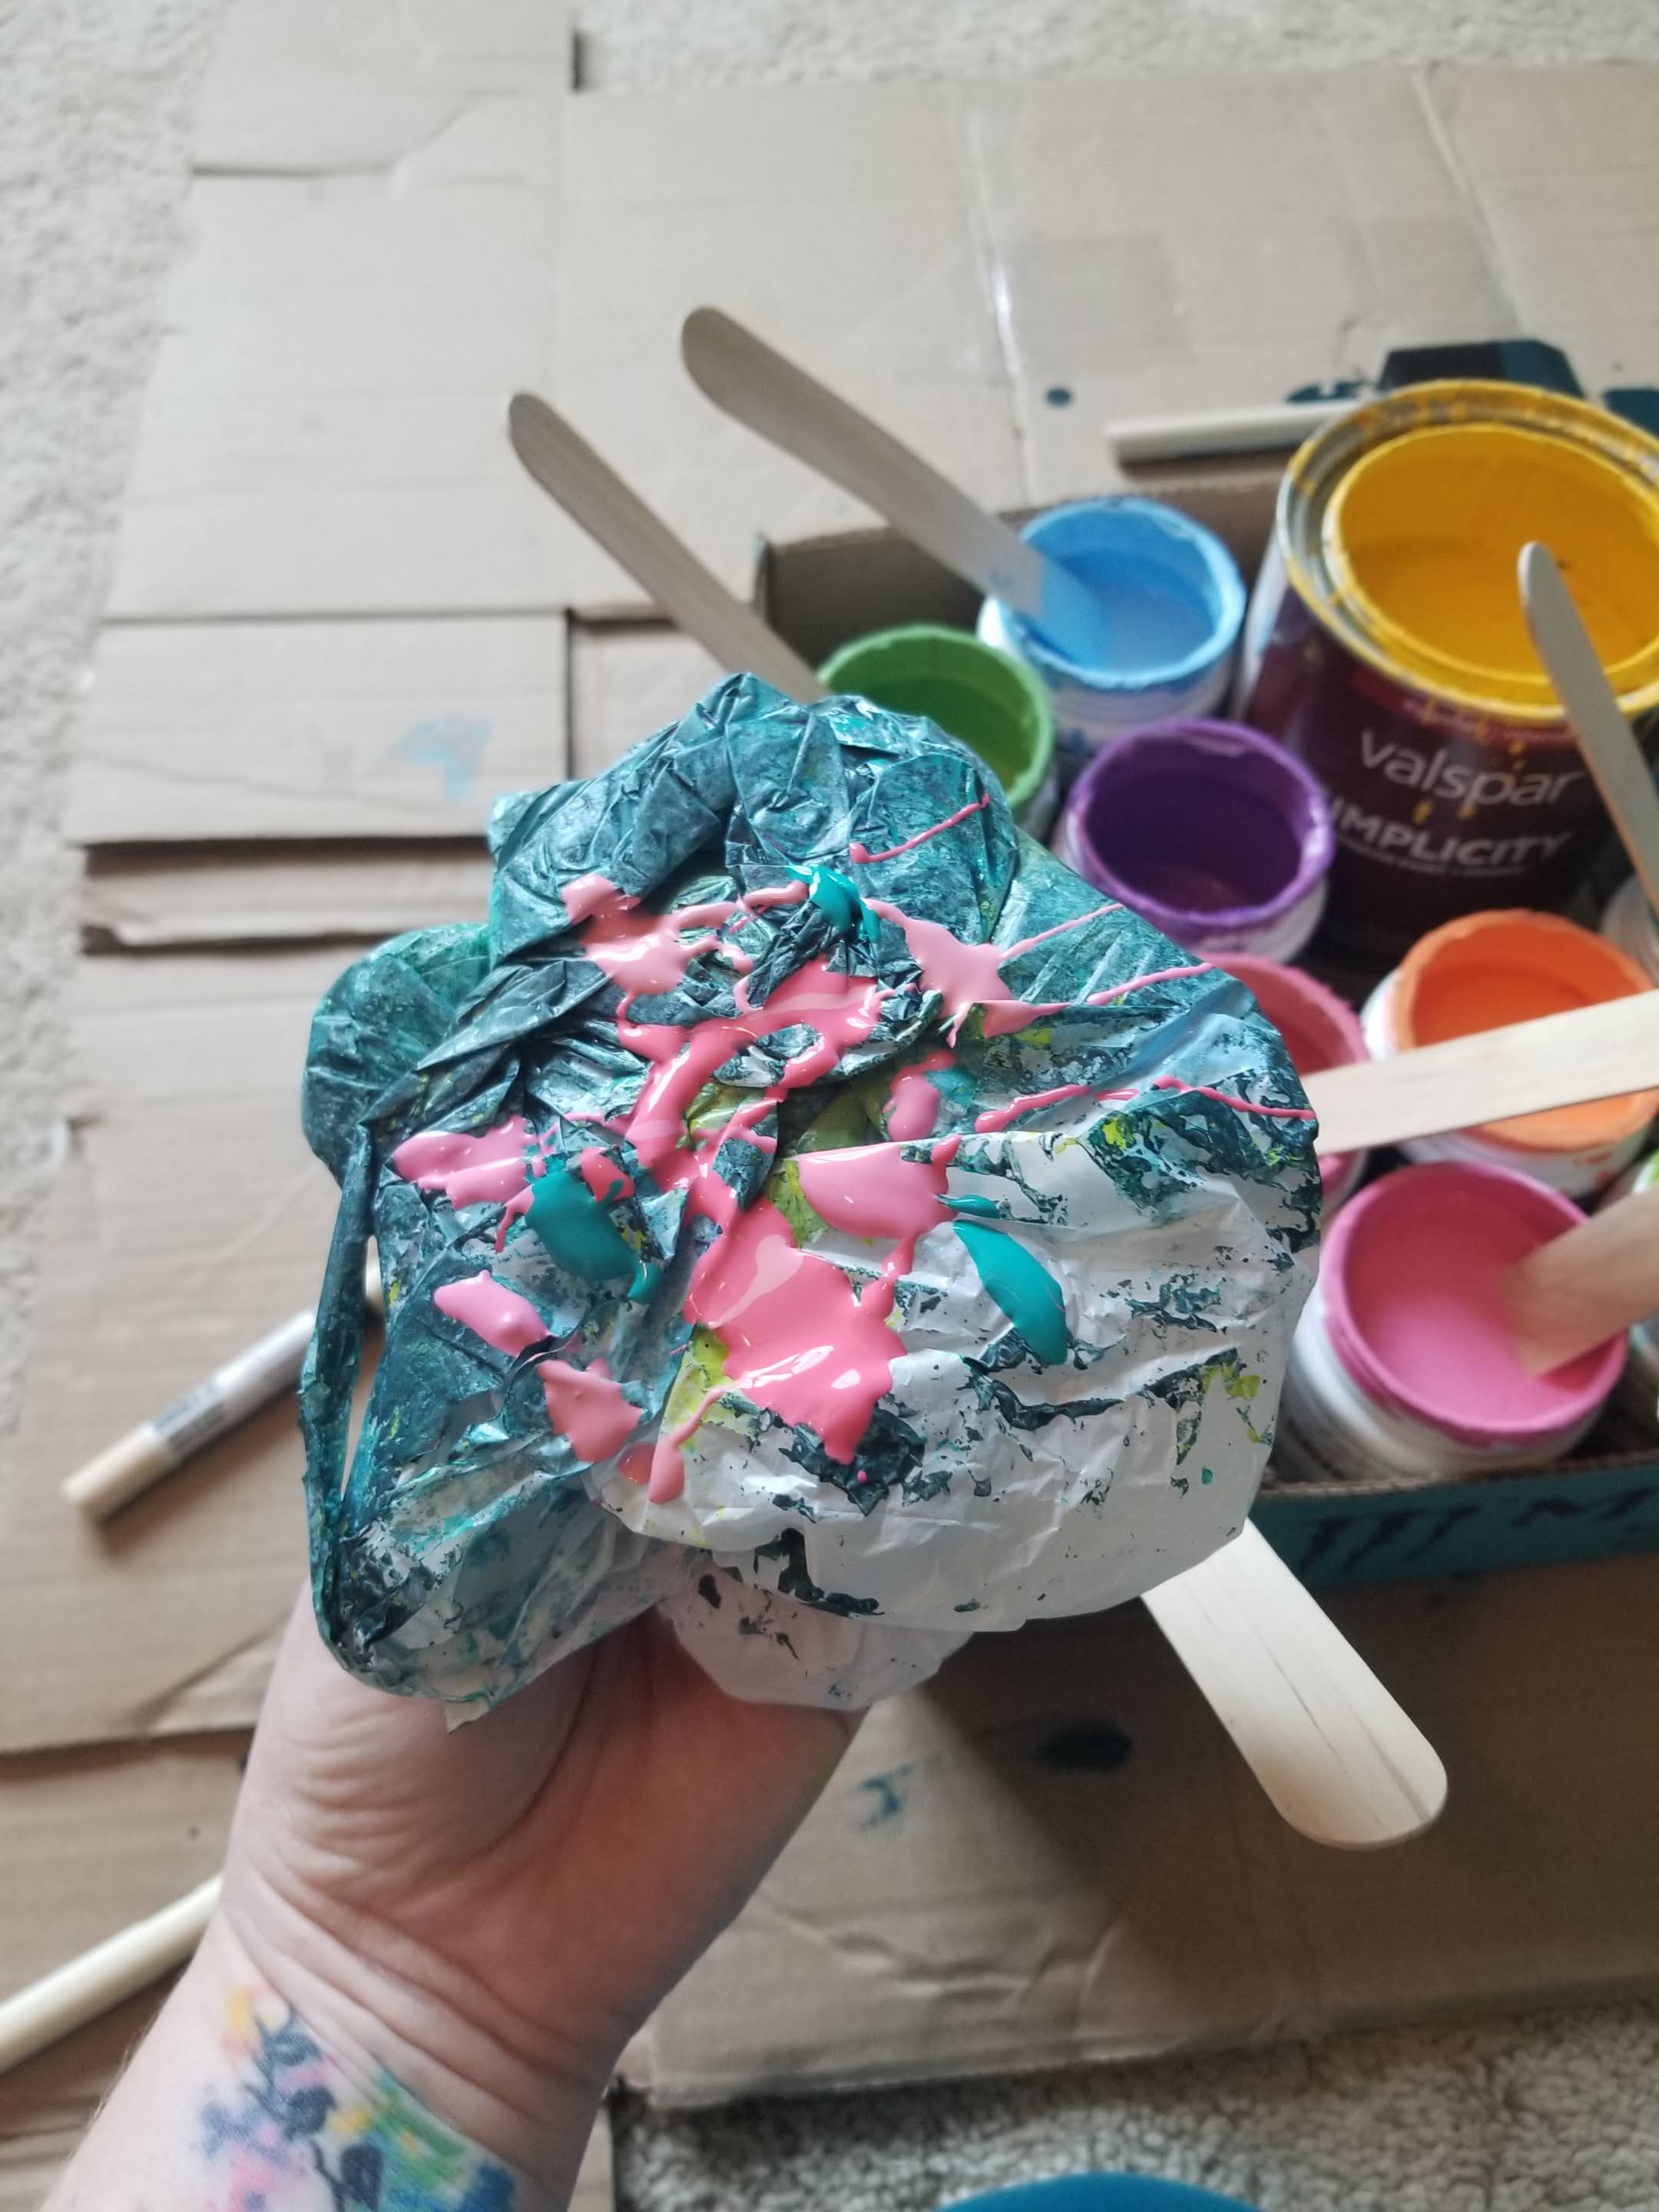
I wasn’t entirely sure how I was going to get the cosmic effect, but I decided to start by “sponging” (yes, like the bad 1980’s paint treatment sponging) the various colors in layers using a plastic shopping bag as my “sponge”. I found it worked best if I applied one or 2 colors directly to the bag and then blotted it repeatedly to blend and lift the colors.

After my first few passes I was sweating bullets thinking I was going to hate the final outcome, and I would be repainting the walls navy again. But I kept the course, continued dabbing and layering colors, and eventually ended up with this:

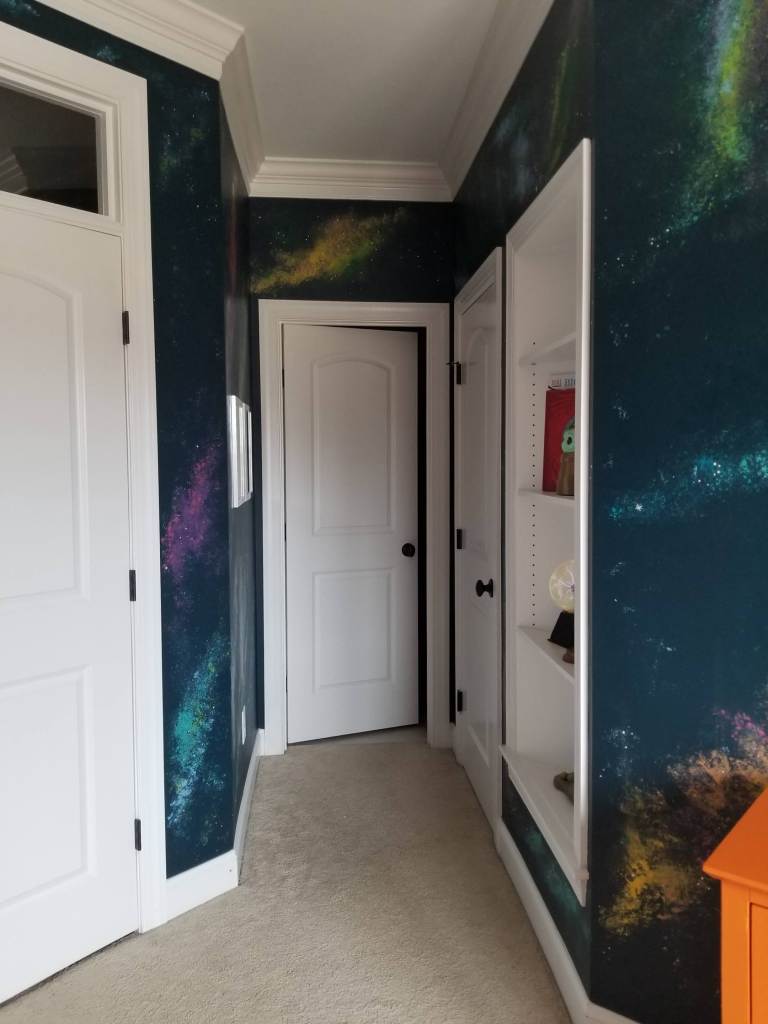
I actually loved how the wall was looking so much I started contemplating painting all of the walls to match…. was I crazy? I deliberated for a day, going back and forth on whether or not the full room galaxy would be TOO much of a good thing, or if I should just go for it. One way or another I was going to need to paint the other walls as the previous gray color looked very drab next to the vibrant colors of the mural. I ultimately decided to just go for it because it’s only paint, right?!? I added tons of little stars to the mural using the end of a small craft paint brush dipped in white paint, and for a final touch I added a few dabs of iridescent glitter paint that look amazing when they catch the light.
And the final room:


To complete the space theme in the room I bought the boys rocket themed bedding from Target (the gray quits are embroidered with little blue rocket ships), colorful Mars prints from Amazon that I matted and framed (silver frames from Michael’s), and I repainted their dresser in SW Navel and added new drawer pulls. We built a cool floating bookshelf (basically just a box from 1/2″ plywood), also painted in SW Navel, to serve as a nightstand between their two beds.
Keeping this room hidden from the two littles in the days leading up to Christmas was a bit of a challenge, but they were thrilled with their new room come Christmas morning. As much as this room was done for the boys, every time I walk past it I smile…. it’s a pretty cool room.

Looks great!
LikeLike