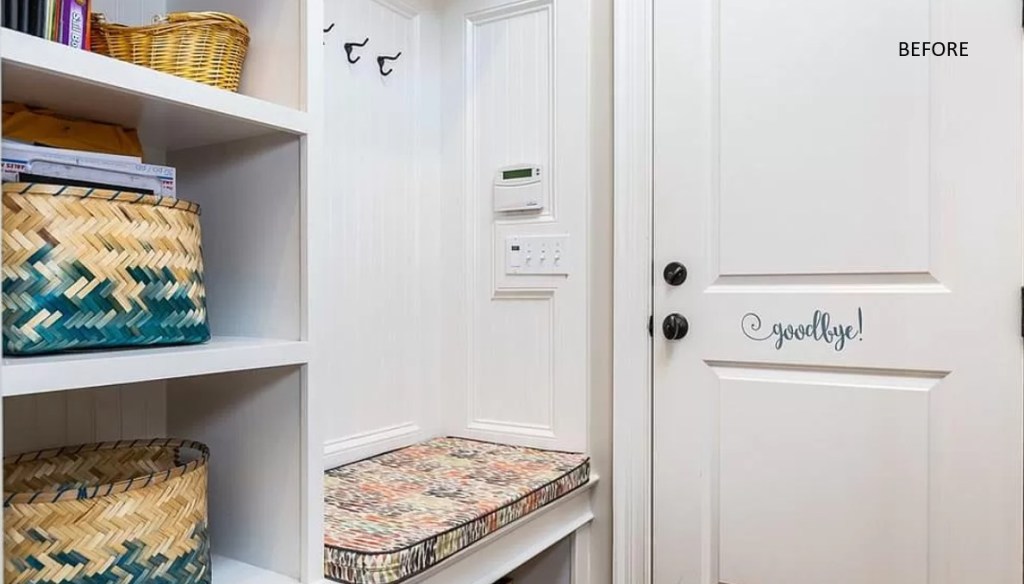
I have been known to get a little carried away about my dislike of mudrooms in houses (I really am not a fan of them). Sure, they look all beautiful and dreamy when you tour a brand spankin’ new home with the built-in shelving, benches, and coat hooks; but fast forward to real life, more often than not they end up a total cluttered mess. To make matters worse mudrooms usually lead directly into the garage and in our house its practically the only door my family ever uses. We enter and leave the house through the mudroom every day, so the inevitable clutter reminds me every time I walk through the space that I have a mess of shoes, coats, backpacks, discarded school papers, pet supplies, and usually several tools from recent projects desperately waiting for me to address the situation.
Our mudroom was not working for us from a storage standpoint and it was more or less a narrow hallway leading to our garage door with an awkward pinch point further limiting the space. Entering through the mudroom door usually involved an overzealous greeting from our critters and the first person to enter the house would block anyone else from being able to easily enter -> I am not complaining about the happy critters, they bring us so much joy!
Our fridge expansion forced us to do something with the mudroom, and since we had the opportunity to make a change, I decided we were going to be ALL IN! I literally found myself scrolling for hours on Pinterest through countless images of drool-worthy mudrooms, set on a mission to make our space more functional and beautiful for our family (ok, just me, I don’t think anyone else really cared about the mudroom at all).
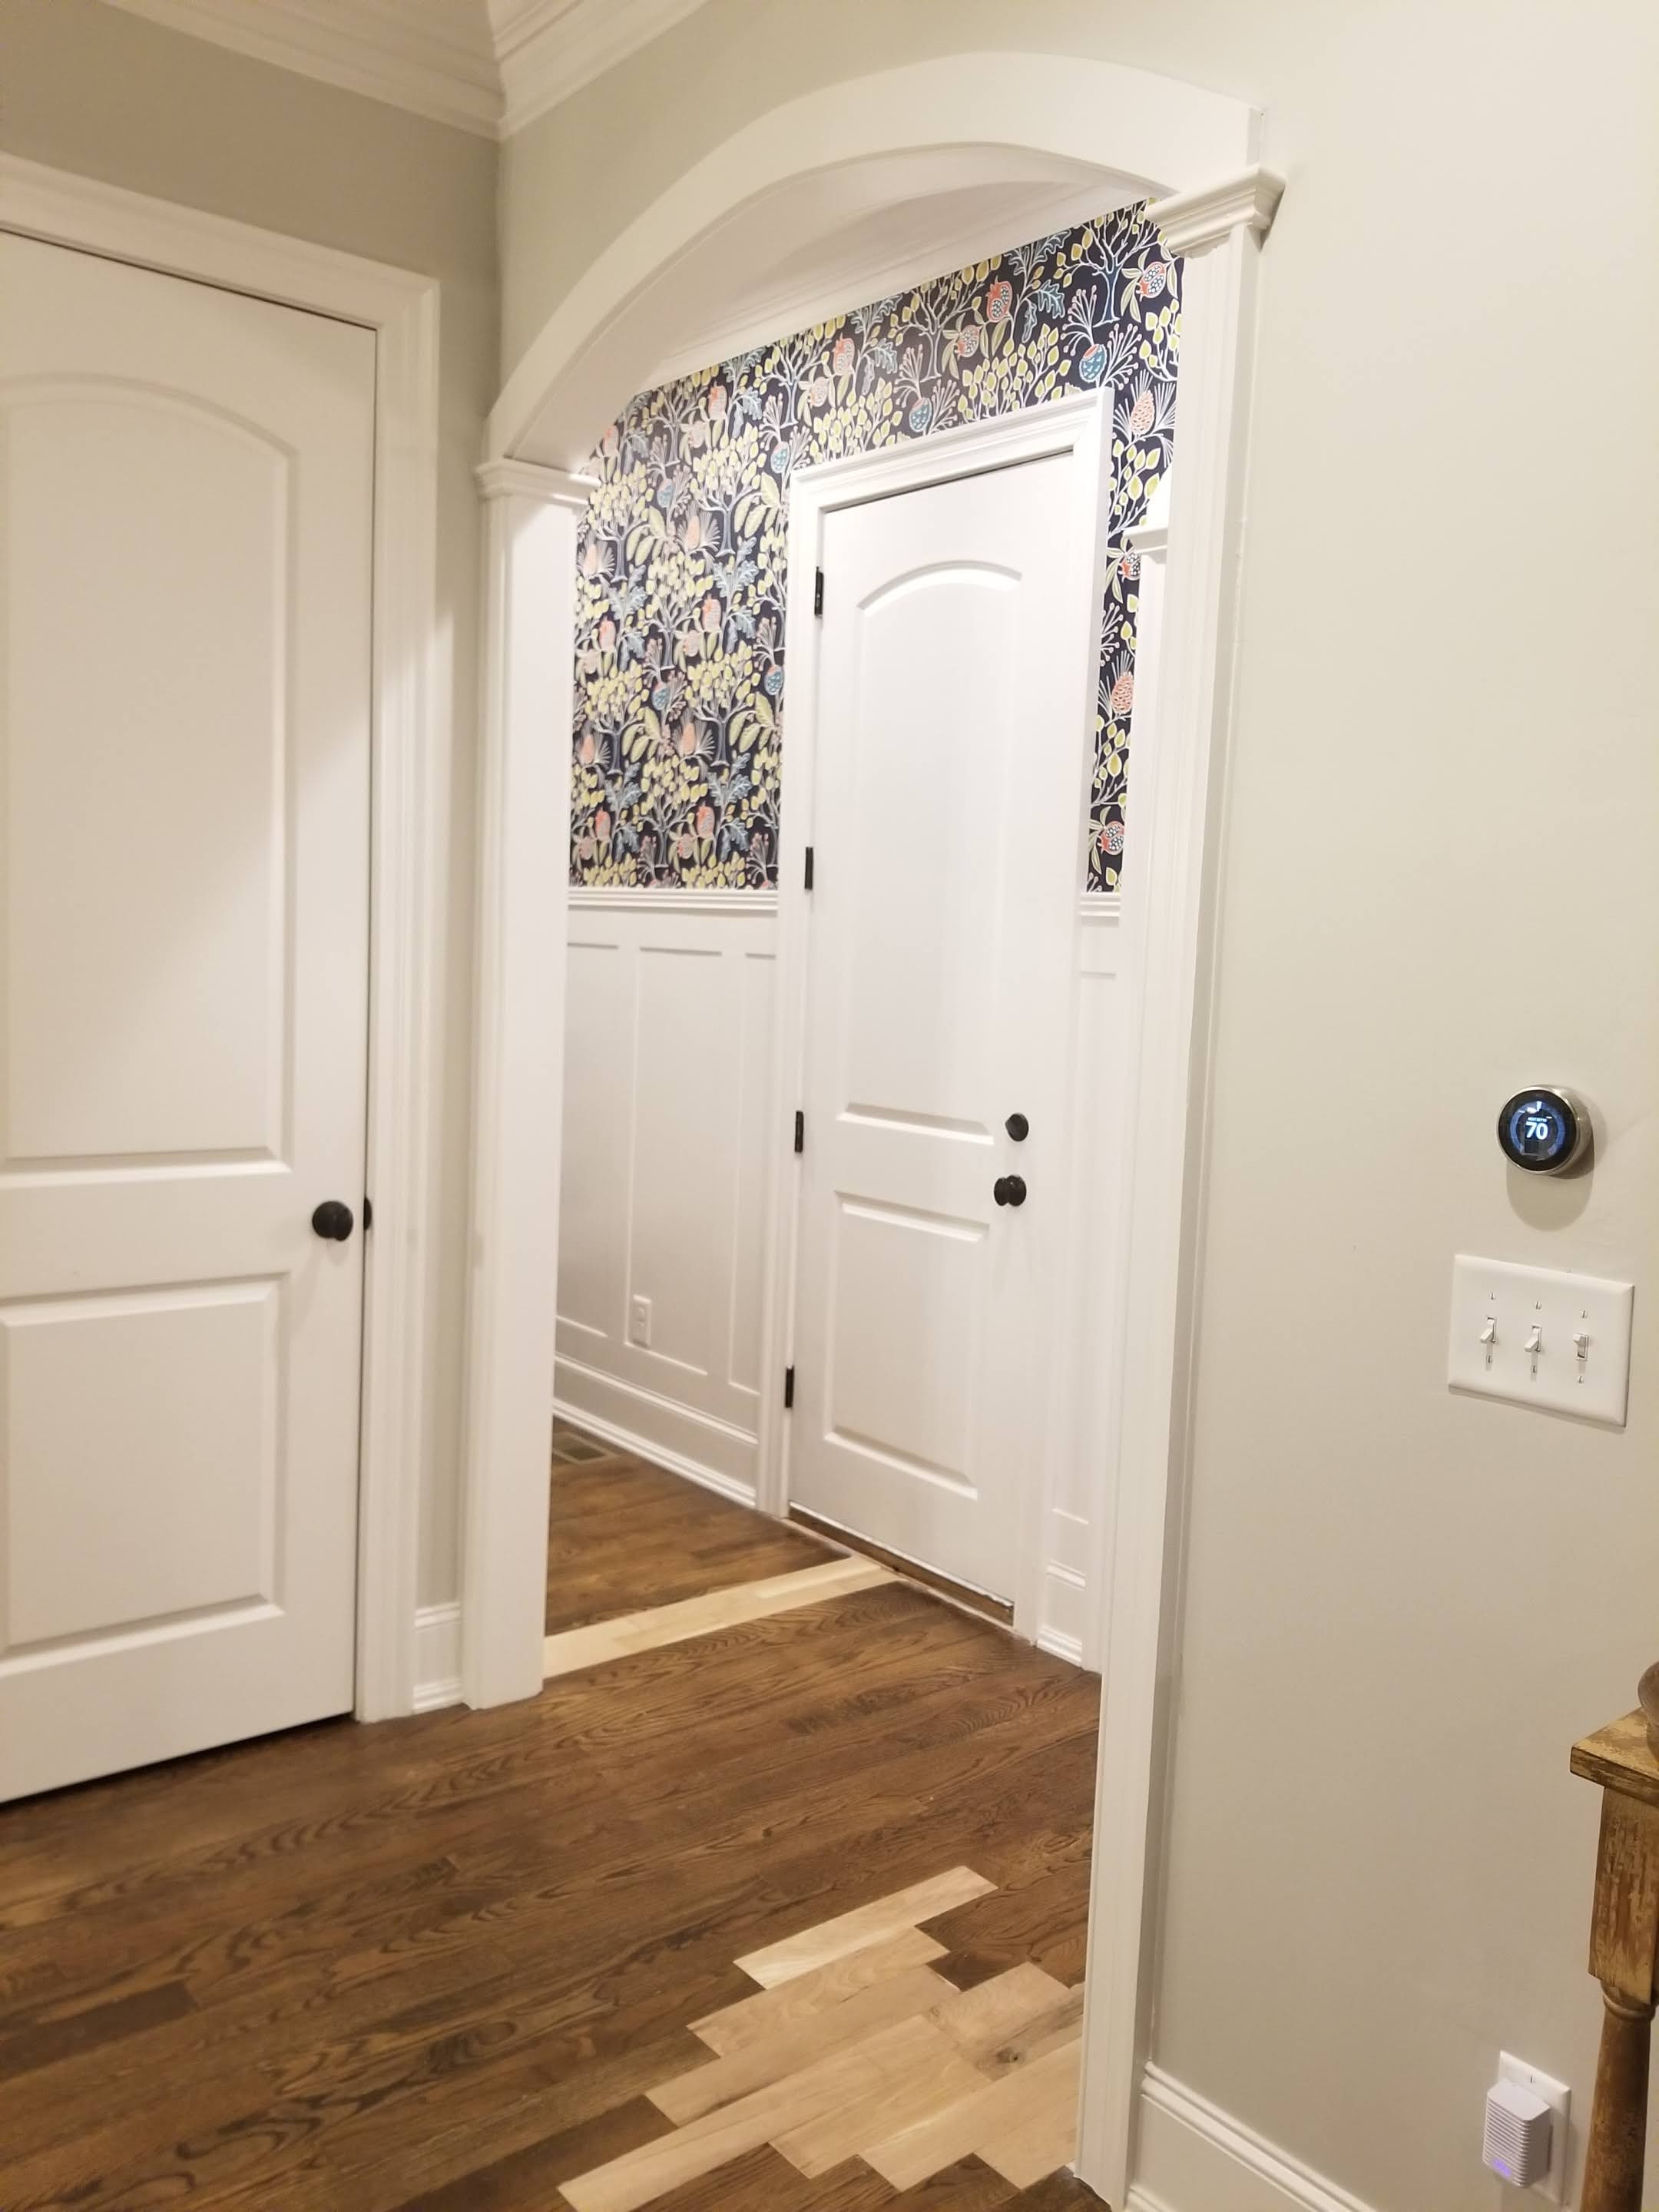
I knew right away that I wanted to change the placement of the door leading to the garage from the mudroom. I know, I know this sounds like a HUGE change, and in a lot of regards it really is A HUGE CHANGE. However, it was a change Mike and I both thought would make for a more functional space not only in the mudroom, but in the garage too.
The location of the garage door and the subsequent platform to get to said door consumed a lot of space in our garage – approximately a 12’ x 6’ area of floor and wall space was virtually wasted to simply enter and exit the house. By moving the door placement to the adjacent wall, we freed up 72 sq. ft. of space in our garage for storage (although its currently a messy nightmare of its own) AND gained additional space for creating more storage in the mudroom (again a win/win!).

We knew that the door to the garage needed to change, but when we first started making the change we immediately ran into issues. For starters when Mike cut the hole to start the process of moving the door, he soon realized that we had measured the location of the new door incorrectly and it wasn’t going to butt up tightly against the wall like we had envisioned. It was back to the drawing board for us…
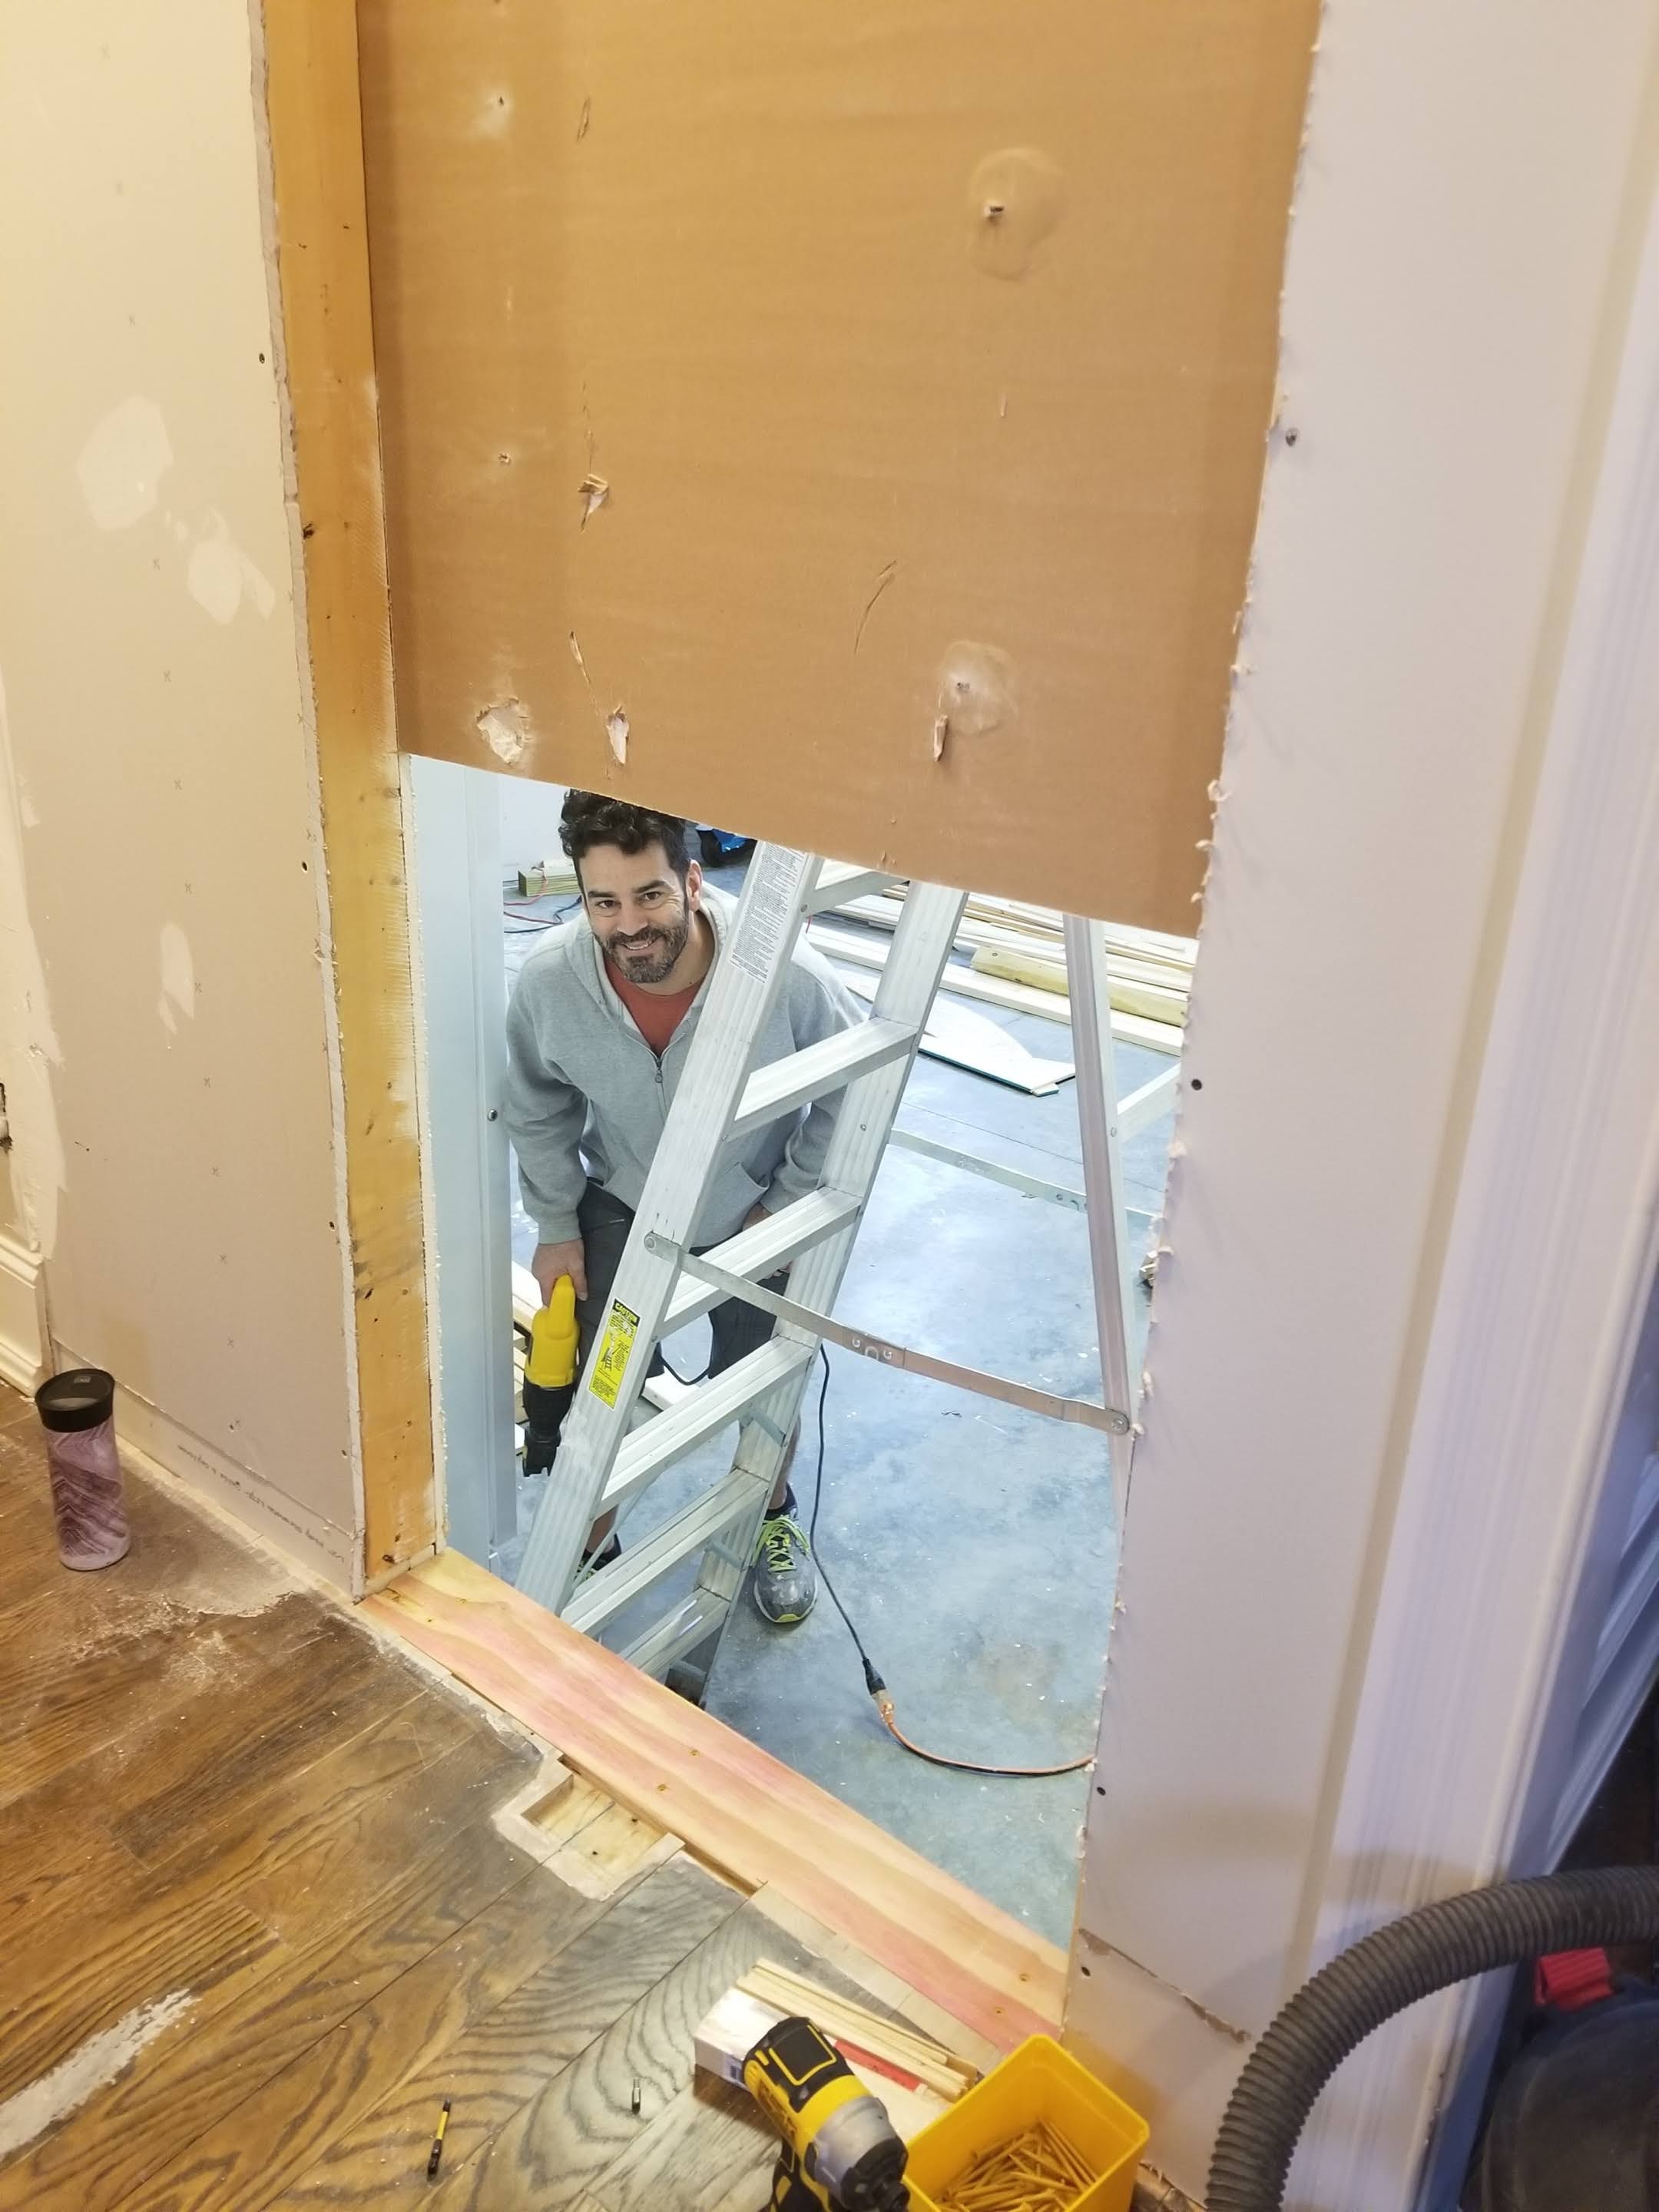
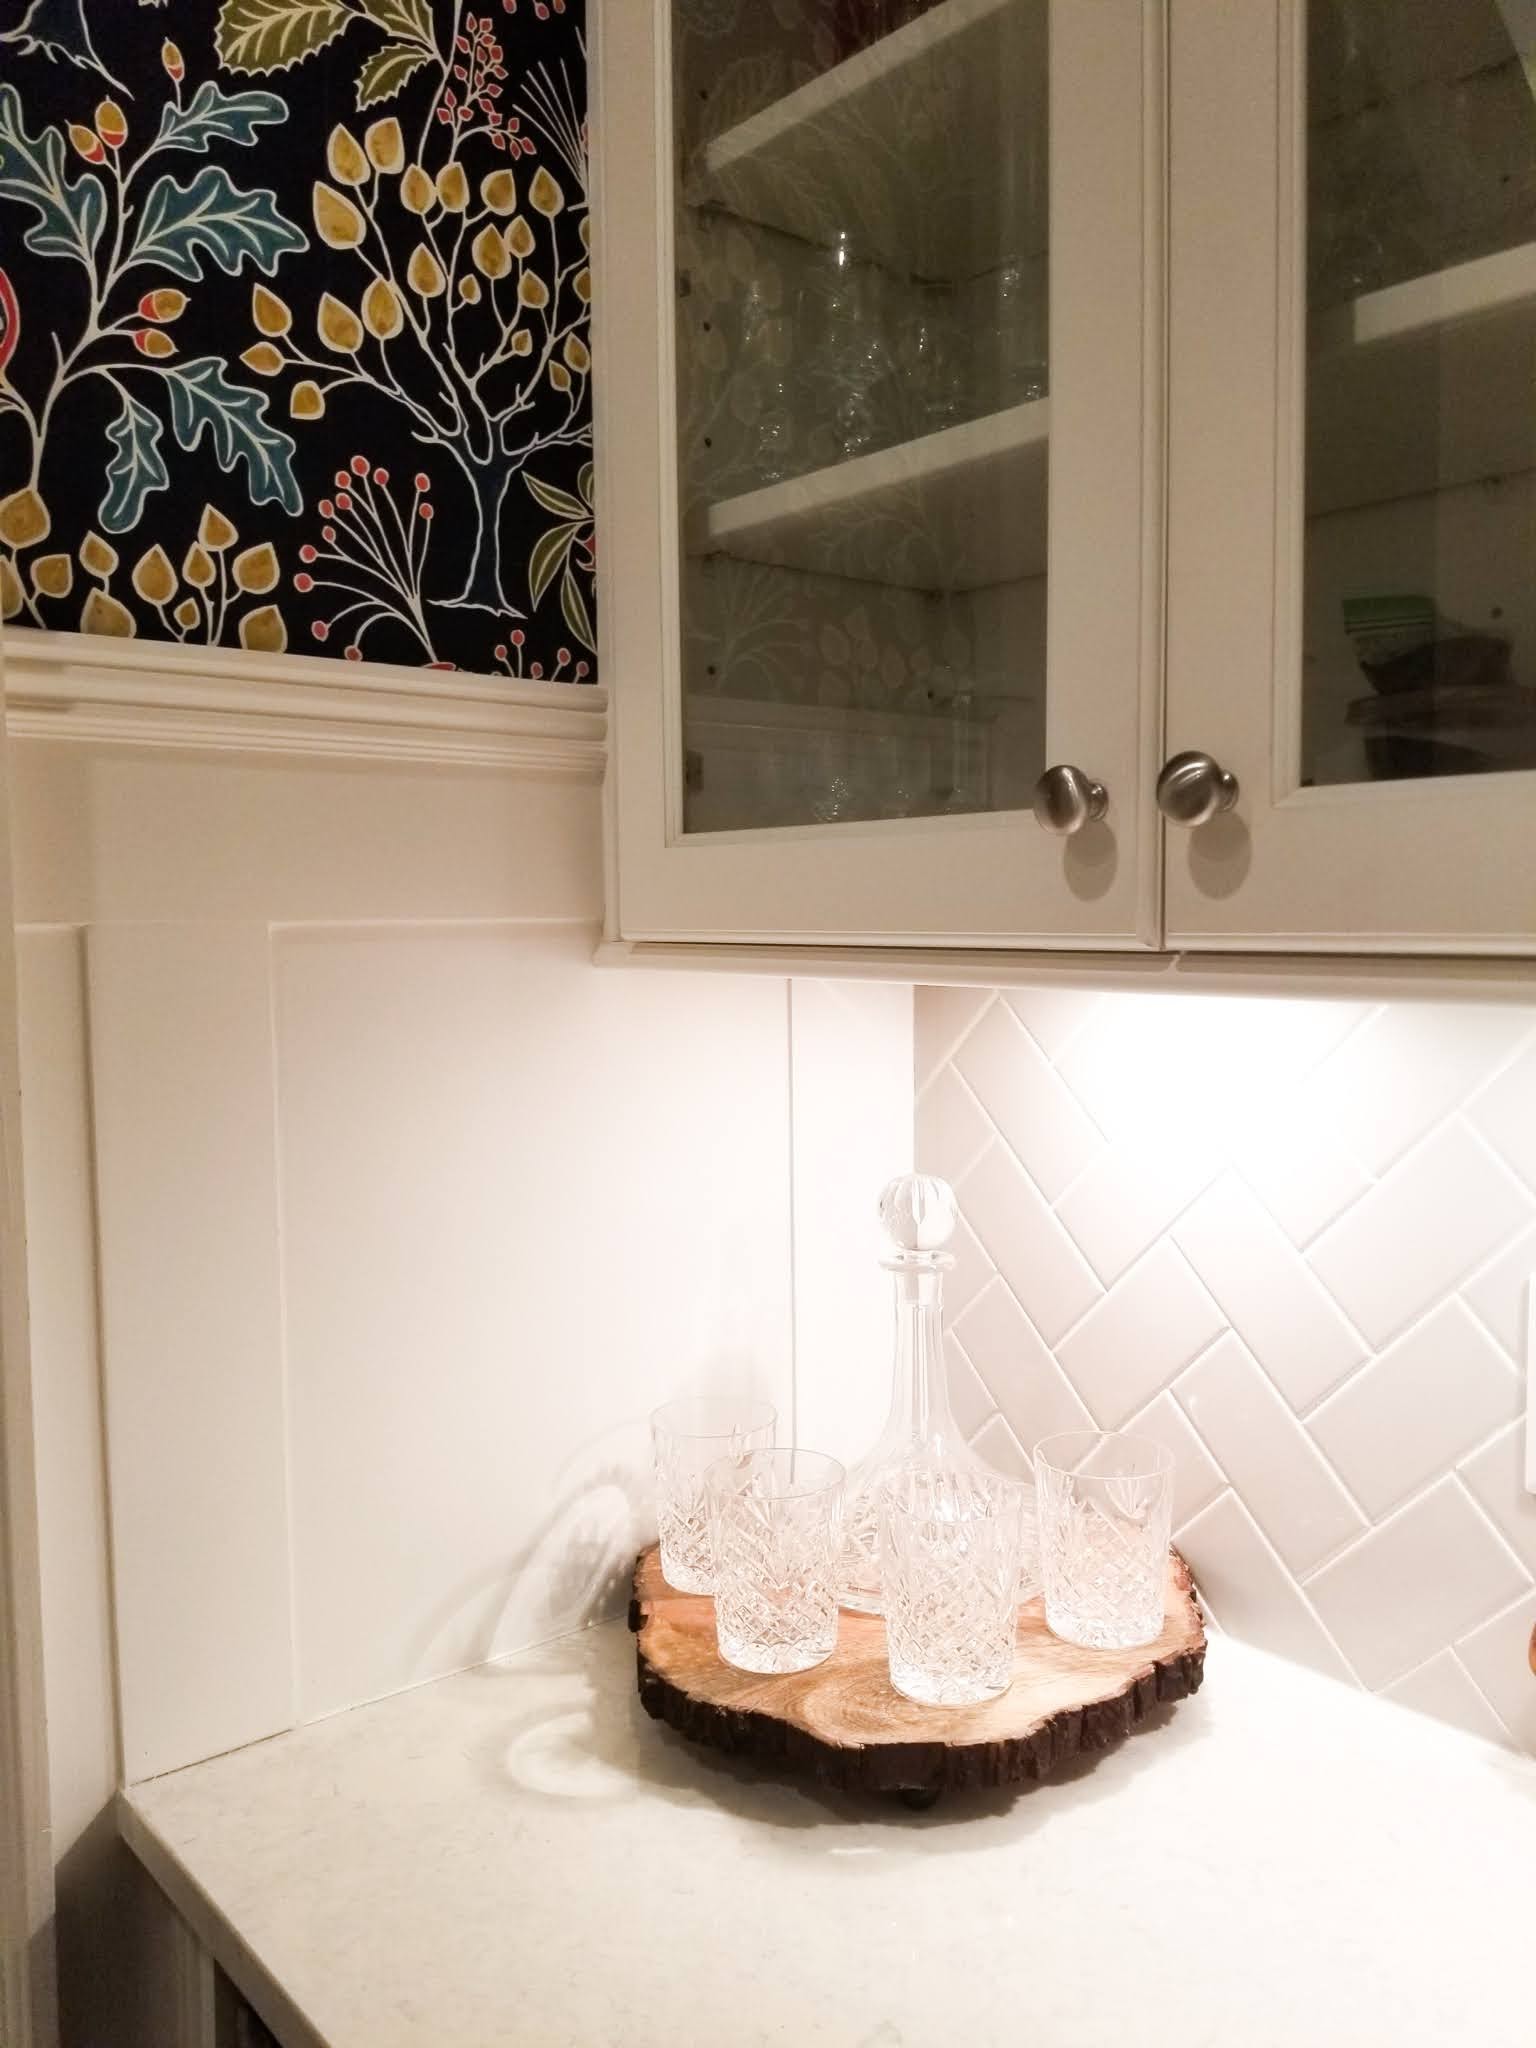
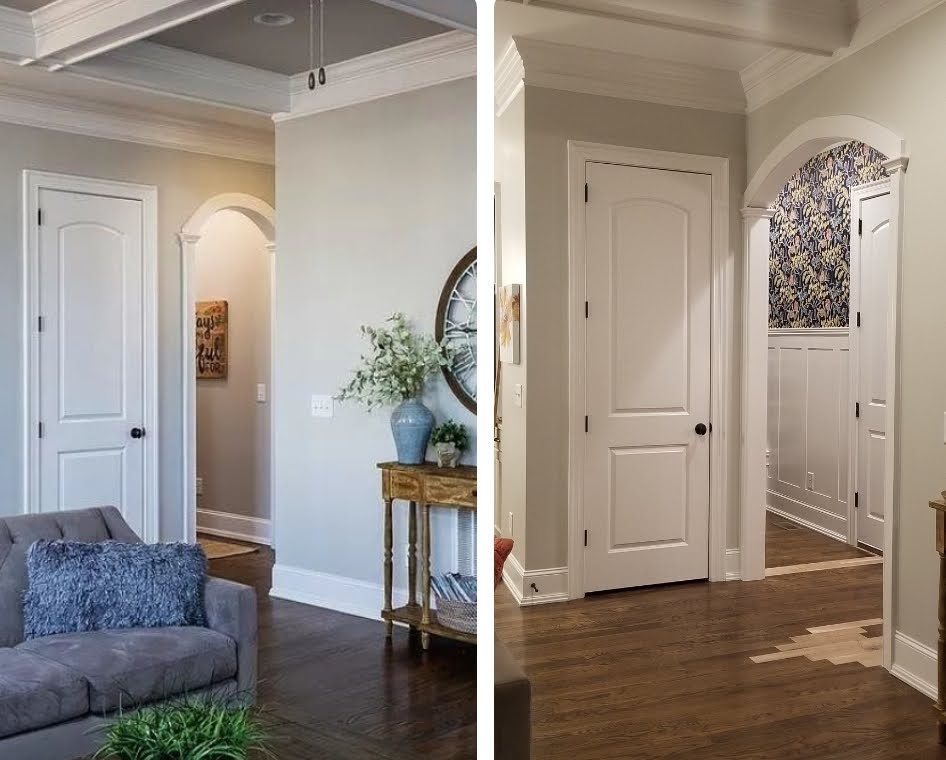
We pumped the brakes a bit as this project was getting a little more intense and we needed to make sure we were getting our next steps right. While staring at the mudroom and internally berating myself repeatedly for the snafu, an entirely new solution presented itself, and that was to keep the garage door in its new location and to then expand the opening to the mudroom/bar area in line with the arched doorway to the dining room (this project was GROWING).


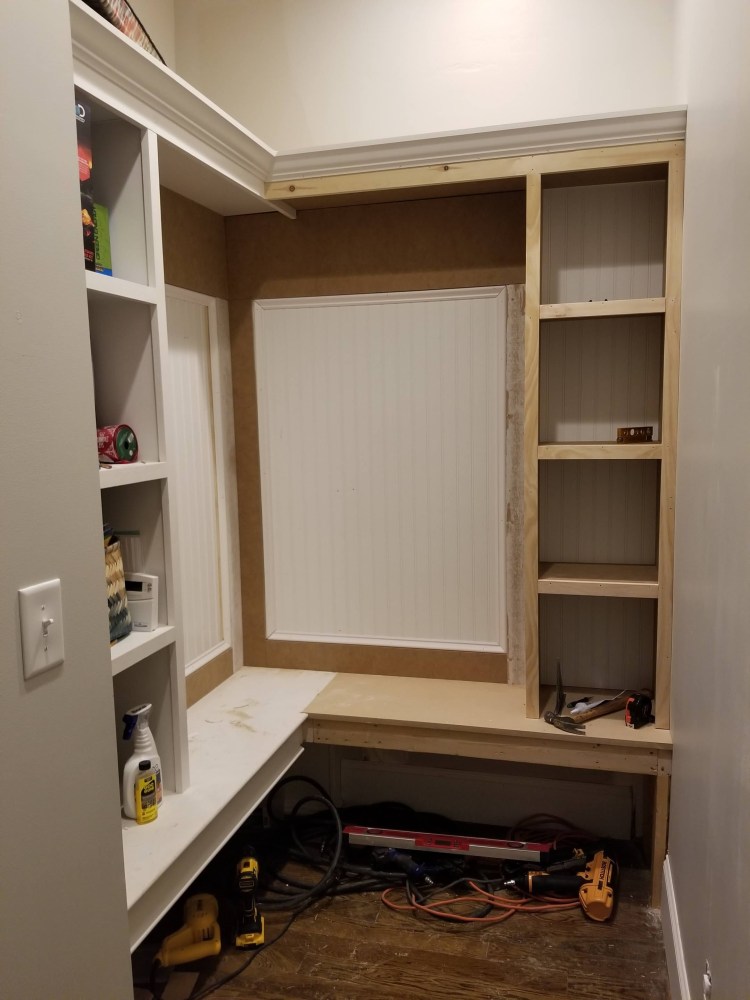
Once the basics of the layout were situated, we got started on the new built-in bench and shelves. We decided to use MDF for the construction of the shelves to match what our builder had previously installed, primarily because it paints so beautifully (even if it does make a tremendous amount of sawdust and weighs a ton!).
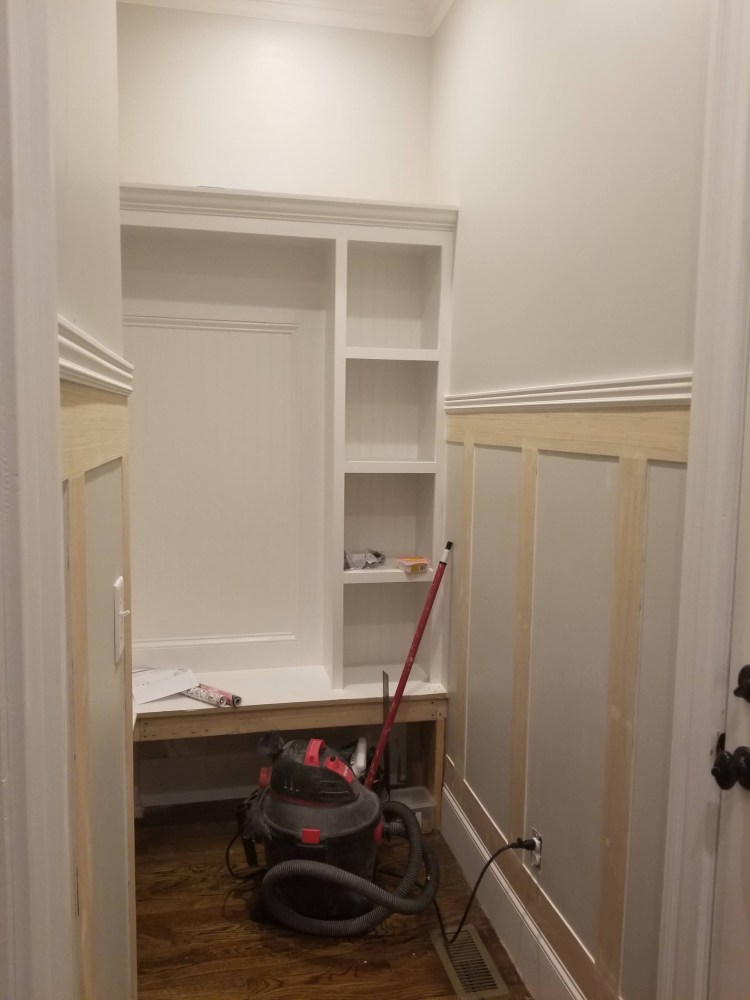
After the new built-in was assembled and painted, we decided (well, I decided, and he said “yes dear”) that the walls also needed some crisp white board and batten. We ripped down a sheet of ¼” plywood to 4” wide strips, cut them to size, meticulously sanded all of the edges, and then secured the plywood directly to the drywall using our trusty finish nailer. I then wood filled a million tiny nail holes and got to caulking all of the seams where the plywood met the wall. I capped the plywood with a fairly simple decorative molding and then proceeded to apply the same bright white paint to the exposed wood.
As if a new layout, built-ins, and board and batten weren’t enough, I then decided to take the design up a notch with some bold peel and stick wallpaper from NuWallpaper that I found on Amazon (link). While I absolutely love the way the wallpaper turned out, boy was it a pain in the butt to hang! Due to the large scale of the design, I had so much unusable wallpaper leftover, and don’t even get me started on the tedious task of lining up the patterns. I’ll be honest, I had never used peel and stick wallpaper before, but despite the hassle of matching up the seams (and the static from peeling off the paper backing), I am a MAJOR fan of how it turned out!
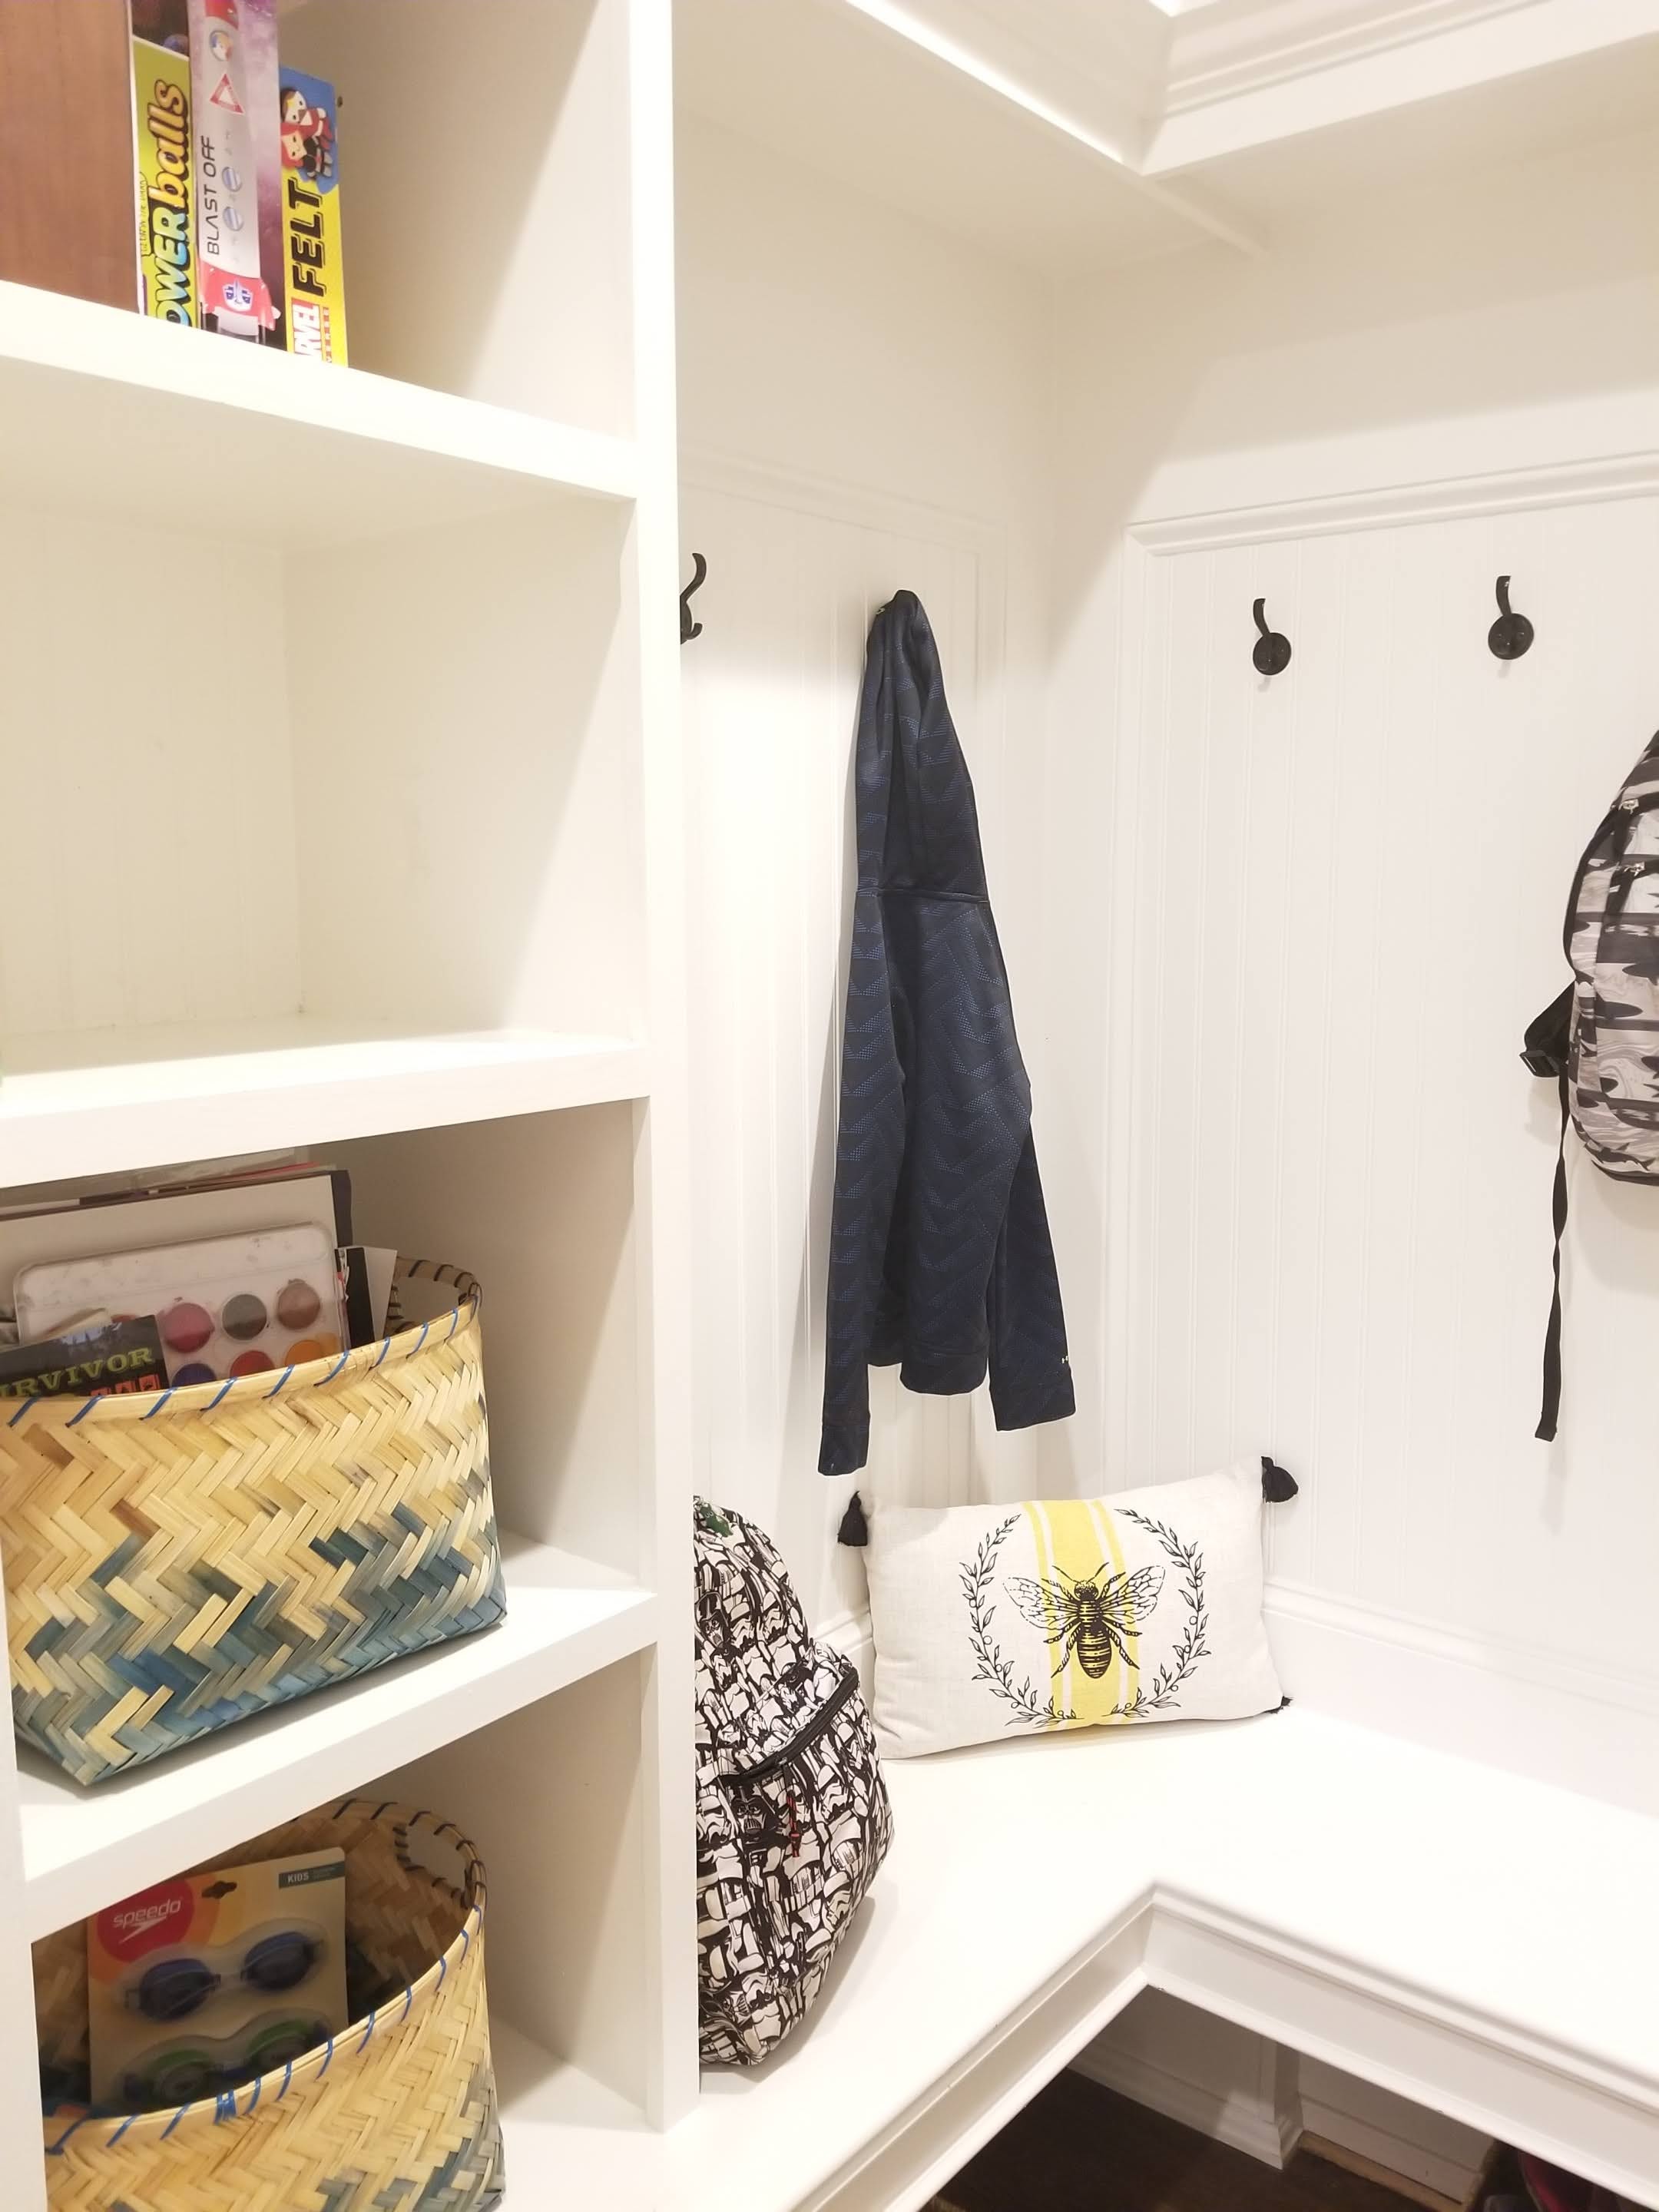
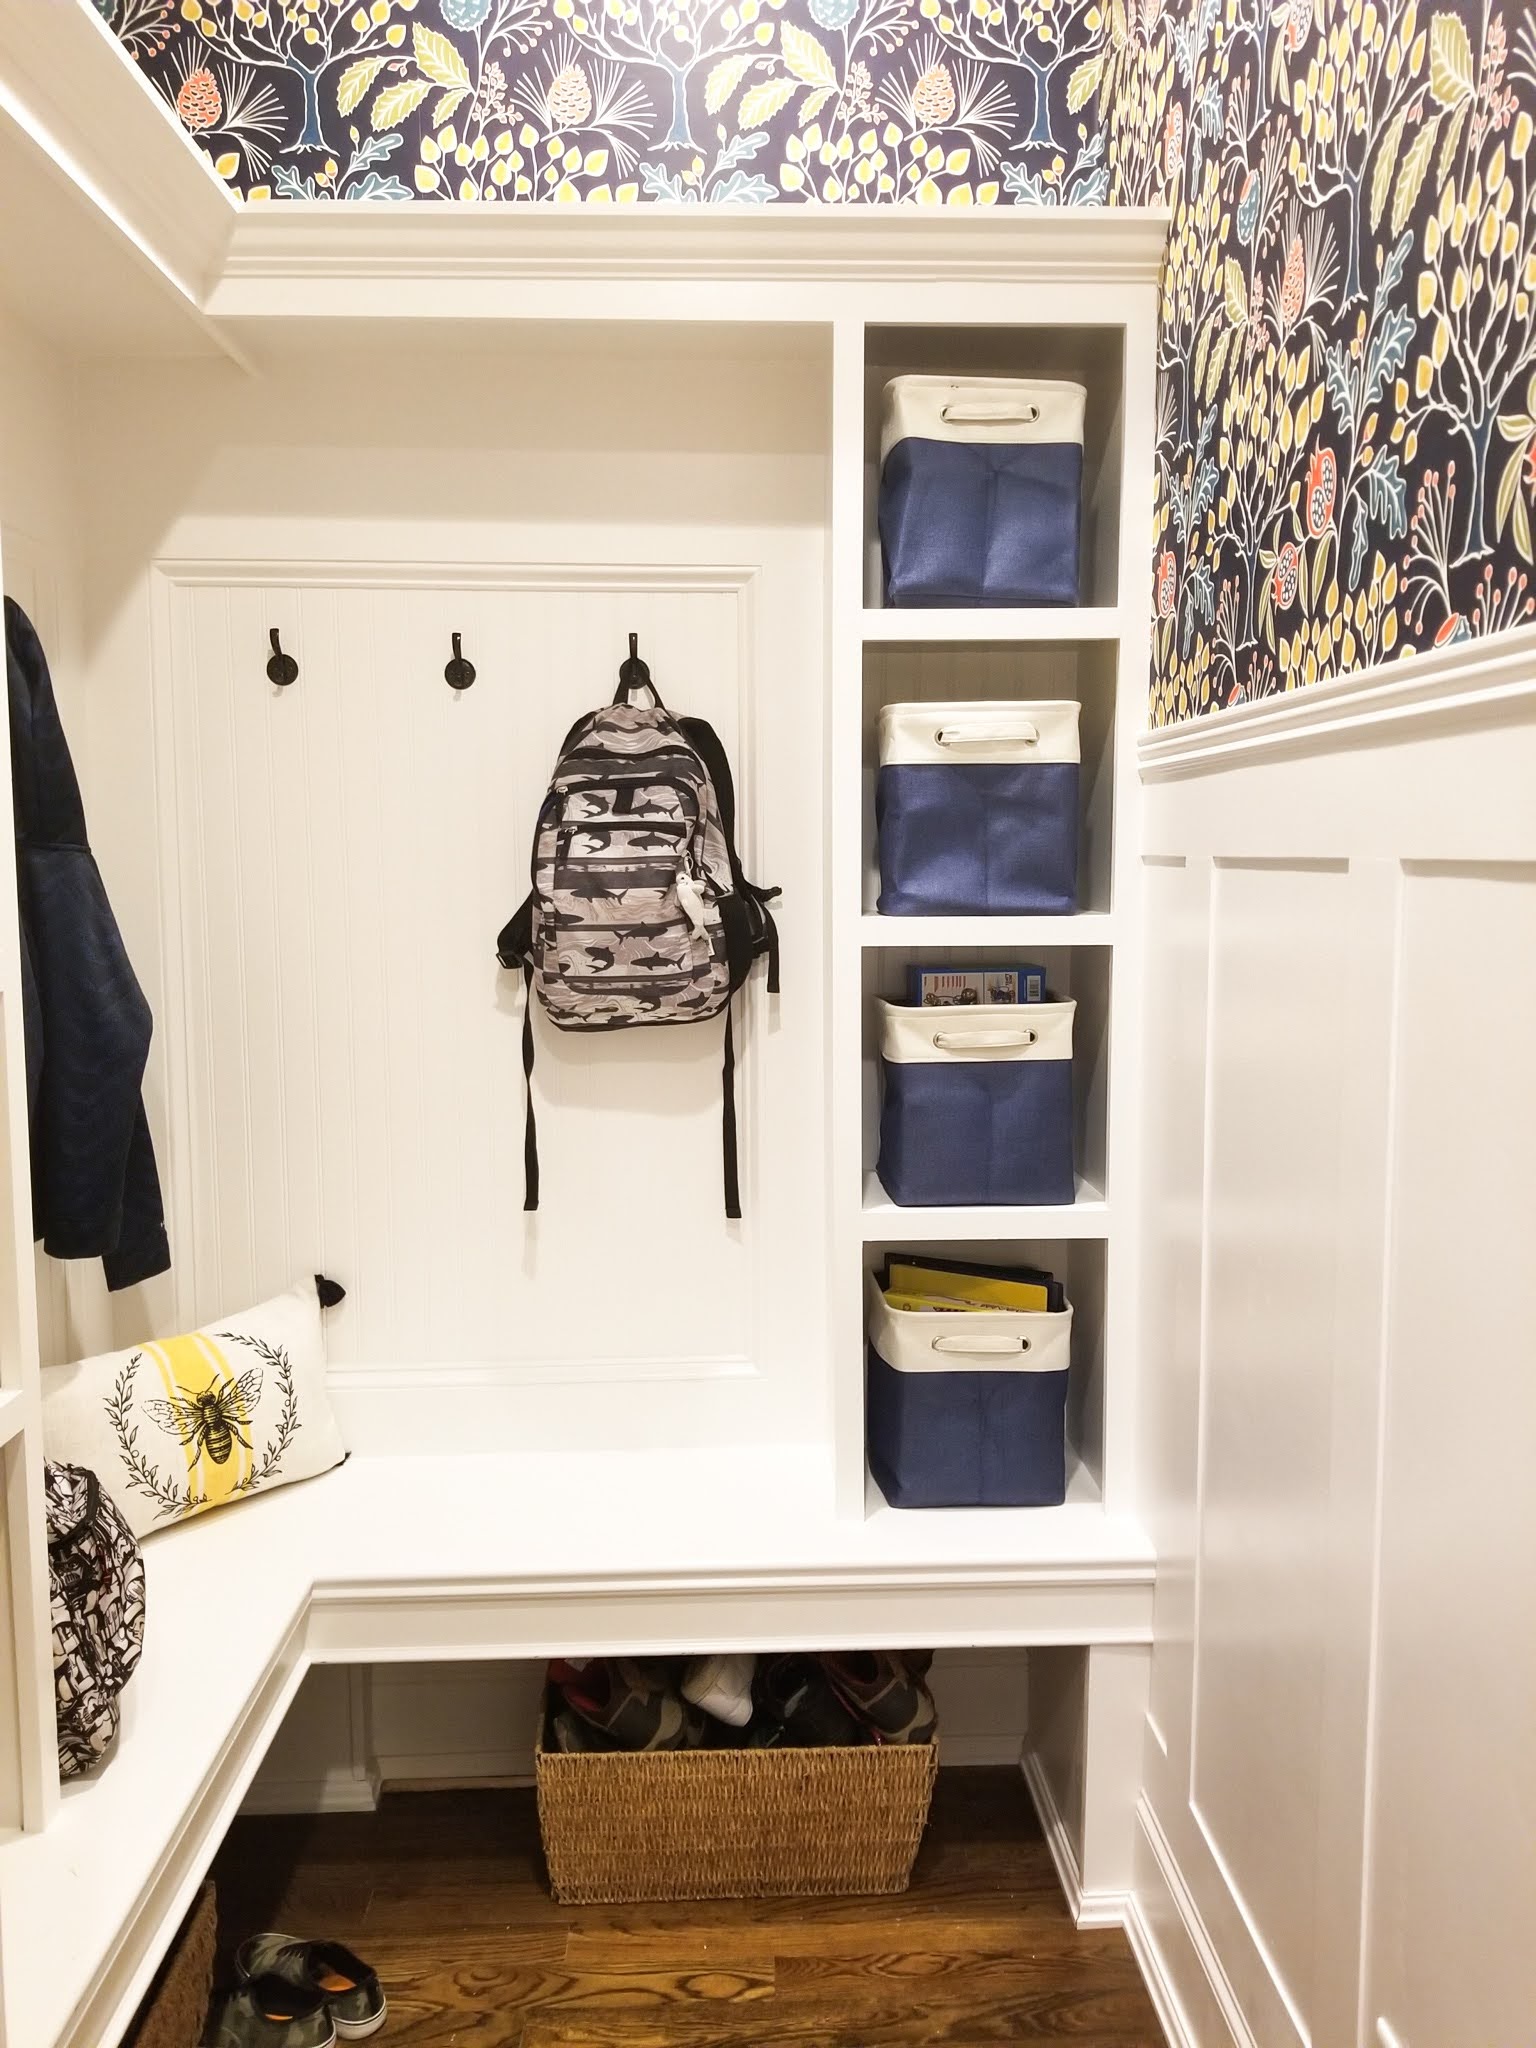

All in all, Mike and I are totally IN LOVE with the way the mudroom has turned out!!! (Yes, I mean each and every one of those exclamation points.) Our floors won’t be finished until we start our kitchen reno in a few months (weeks?!?), but the new door location means that the critters can greet us at when we get home without causing a traffic jam, and I technically don’t have to look at the mudroom (should it become cluttered) if I don’t want to. We added these cute little canvas baskets, also from Amazon (link), to help hide some of our clutter. Now to keep the space clean and organized….
